First Autopilot: sanity check
After doing a bunch of work like we just did, it's always important to periodically check that everything works as intended, before moving on to even more complex stuff.
So that's what we'll be doing.
Building a test track
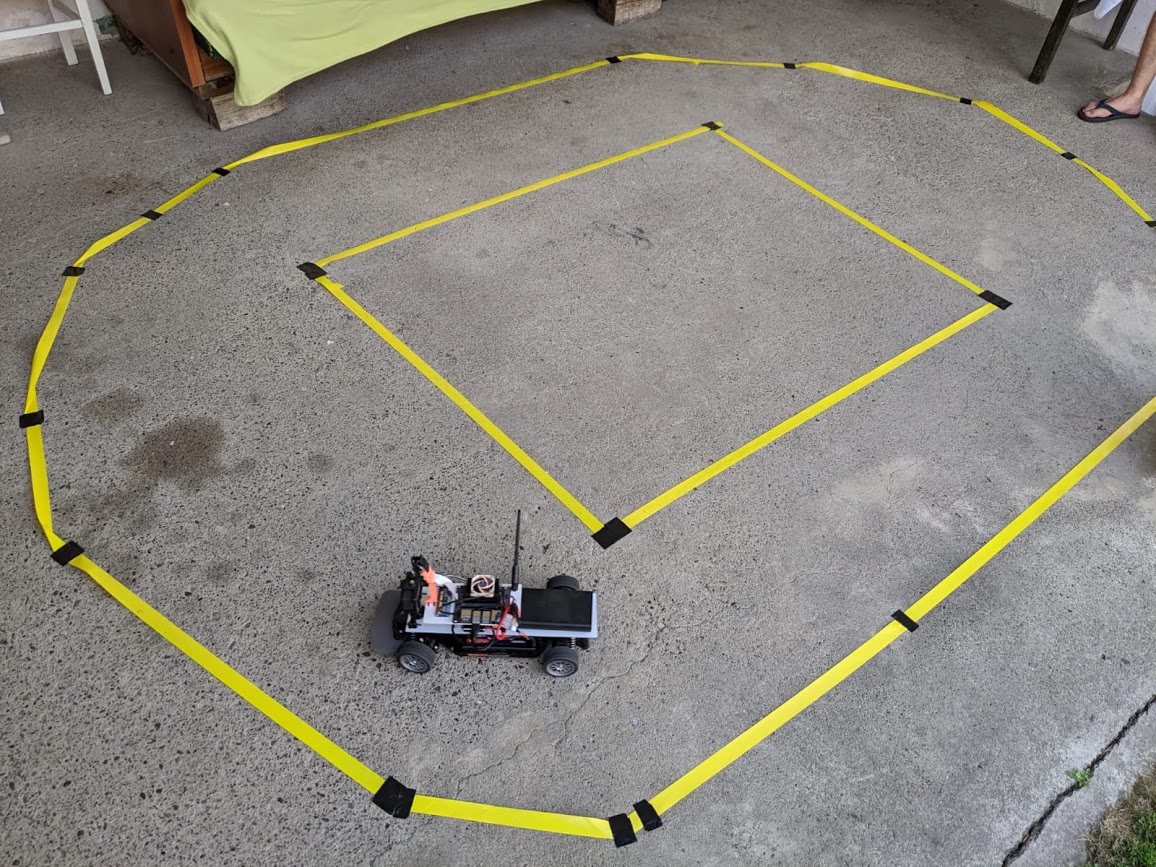
First, you need to build a test track. For this sanity checking, I wouldn't do anything over the top. Just take some duct-tape and make a circular track that's easy to drive around.
This is what mine looked like:
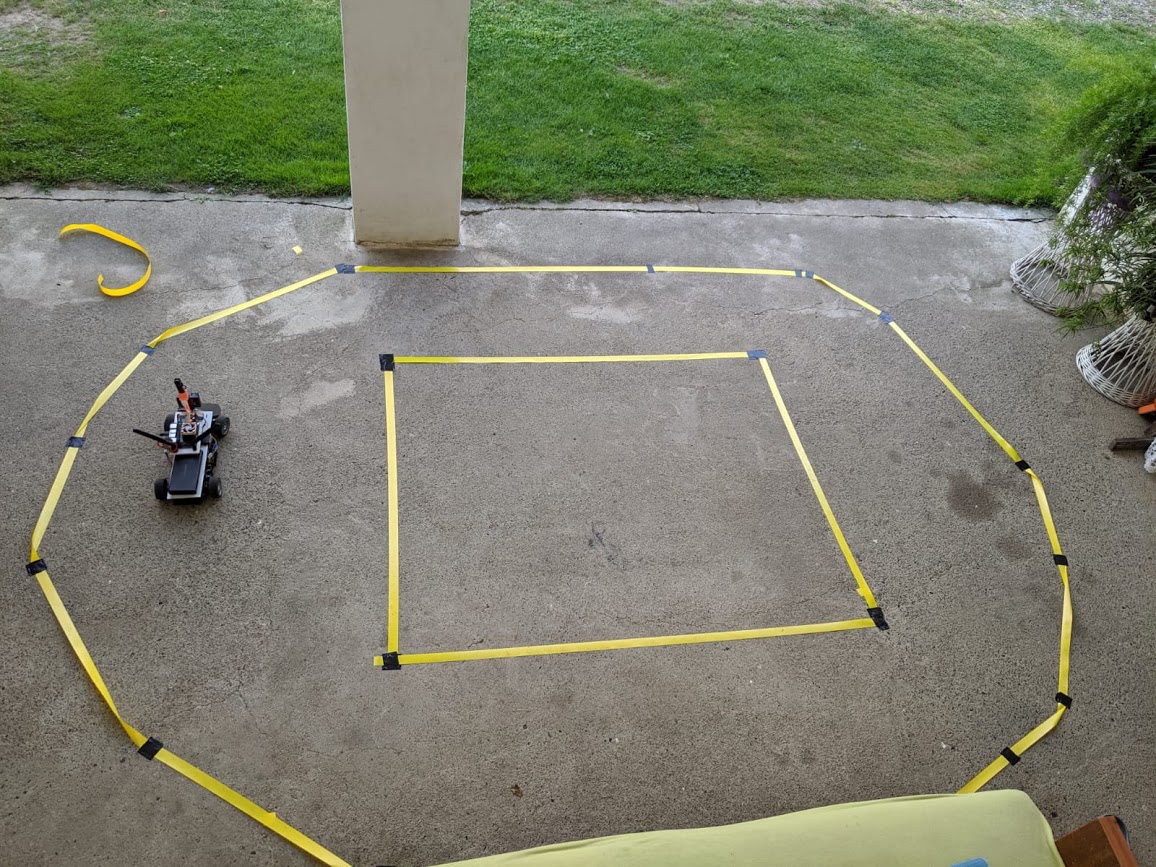
You can also make something more fancy, like this, but it isn't neccessary:
Collecting the training data
After your RC is on the track, connect your gamepad to it and from the ~/mycar directory run:
python manage.py drive --js
Now, try driving one lap around the track. It should be collecting records. If it is, you're good to go.
To get your training data:
-
Drive the RC for at least 10 laps, without any errors.
- If you make a mistake while driving, press the Y/Triangle button to erase the last 5 seconds of the drive, put your car back on the track and continue driving.
-
Stop the
manage.pyscript. -
Scroll up to see in which tub the data was saved:
# The line you're looking for is: New tub created at: /home/your_username/mycar/data/tub_**_**-**-** -
Copy the name of the tub
Transferring the data to your host PC
Now we just need to transfer our training data to our host PC:
-
Mac OS X / Linux: (use the tub name you copied)
-
rsync -r username@your_nano_IP_address:~/mycar/data/tub_**_**-**-** ~/mycar/data/
-
-
Windows (MobaXTerm):
- MobaXTerm has a built in SFTP viewer to the left of your terminal
- To copy your data, go to:
/home/your_username/mycar/data/using the SFTP viewer - Find the tub with the same name you've copied
- Right click on it, and click Download
- Save the files to the
mycardirectory on your host PC (should be atC:\Users\your_username\mycar\)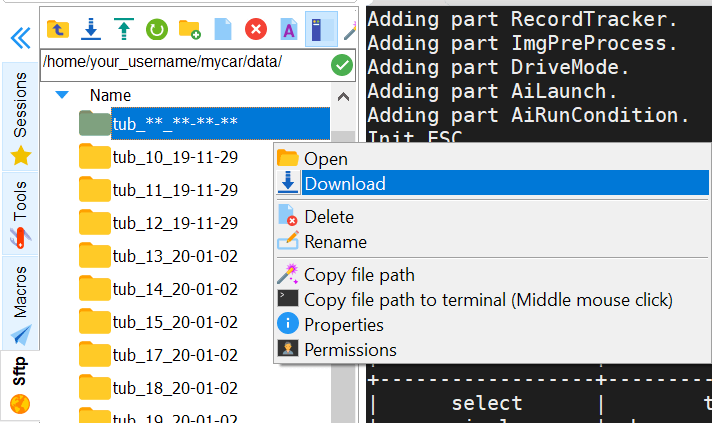
Training your first model
The usual location, if you've followed the tutorials and used the suggested directory, would be:
# Linux/Mac OS X
~/projects/donkeycar/donkeycar/parts/keras.py

# Windows
C:\Users\your_username\projects\donkeycar\donkeycar\parts\keras.py
We'll be using one of the simplest ones, the linear model.
You can see a list of all the architectures explained here.
To train your first autopilot model, go to the mycar directory on your host PC, and run:
python ~/mycar/manage.py train --model ~/mycar/models/firstAutopilot.h5 --type=linear
This will use all of the tubs it can find in your data folder.
If you'd like to specify specific tubs Donkey should use to train your model, you can run:
python ~/mycar/manage.py train --tub /path/to/the/tub,/path/to/other/tub --model ~/mycar/models/theNameOfTheModel.h5 --type=architectureName
Notice that you can either separate specific tub paths by using a comma, or you can use a mask, e.g.: /somePath/tubs/tub-20* to train all tubs starting with the name tub-20.
Feel free to train a number of models using different architectures to see how they work. I'd recommend trying the linear, rnn and 3d architectures.
Moving the trained model back to your RC:
After the training script has finished, we just need to move our model(s) back to our RC in order to use it.
-
Linux/Mac OS X:
-
rsync -r ~/mycar/models/ username@your_nano_IP_address:~/mycar/models/
-
-
Windows (MobaXTerm):
- Navigate to the
/home/mycar/models/on the Nano, using the built-in SFTP viewer and just drag and drop all of the models (.h5 files) you've trained from your host PC to the Nano.
- Navigate to the
Let the autopilot drive by itself
After training and moving your models to your RC, let the model control the RC by running:
python manage.py drive --model ~/mycar/models/yourModel.h5
Go to the Web interface by opening up a browser and entering yourNanoIP:8887 into the address bar.
I'd recommend setting the Mode & Pilot to Local Angle, starting the vehicle and either giving the throttle by yourself, using the blue touch/click area on the right, or by giving it a constant throttle by setting the Max Throttle to 50% and setting the Throttle Mode to Constant.
After making sure your model doesn't just ram your RC into a wall, you can use the Local Pilot mode and it'll control the throttle by itself.
What's next?
The autopilot works, but it's far from perfect. But it's still pretty impressive considering we started out with a regular RC, and now we have a thing that can drive around a track on its own. :)
The more important thing is, we now have everything we need in order to make a complex self-driving model. We can automatically collect data by just driving our RC around a track, we have a pipeline established that can take that data, run it through an architecture we've defined and spit out a model we can just plug our car into and it'll control it via it's output. That's pretty sweet.
Now we can go onto the most interesting part of this project, the machine (and deep) learning part.