Running the OS from an external SSD using a custom kernel
This is the technical, optional upgrade that will enable you to boot your OS from an external SSD.
Syonyk has an awesome Jetson Nano guide with all of this stuff explained and was the primary source of info while researching how to do this.
JetsonHacks also have a guide that should make this much easier to do, as they’ve prepared scripts that do all of the work for you, but I haven’t tried it so I can’t say it works for sure, but it should!
This will take some time. Taking kernels apart, patching them and building them takes a while even on your regular workstations or servers, but doing it on an embedded device is a whole new world of pain when it comes to waiting for stuff to build, compile or extract. Be prepared to be patient while you’re doing this.
So what is it we’re exactly planning to do here, and why?
We want to use our external SSD as the root filesystem because of the huge performance boost it gives us. But the problem is this:
- The USB 3 ports require the kernel to load some firmware on boot to enable them to work, which means the USB ports won’t work until the device boots up
- That firmware is stored on the root filesystem, which we want to, you know, put on our external SSD
- That means we’d need the firmware from our SSD in order to use our SSD…
So, how can we work this out? Simple: patch the kernel and embed the firmware we need right into it, so it doesn’t need to read it from the root filesystem, which we can then freely put on our external SSD.
While we’re at it, there’s another thing that would give us a noticeable performance boost which we could build into the kernel, same-filled page merging support for zswap.
Okay, hack all the kernels
All of the steps written below are meant to be run directly on your Jetson Nano.
First of all, since the Nano doesn’t run the stock Linux kernel, we’ll need the sources for its custom kernel. Miraculously Nvidia actually provides it.
- Download the BSP Sources from the right side, under Jetson Nano on the L4T download page.
- Unpack the archive
- Unpack the kernel source from the public sources folder to your home directory
- Open the kernel folder
Steps shown below:
cd Downloads
tar -xf public_sources.tbz2
cd ~
tar -xf ~/Downloads/public_sources/kernel_src.tbz2
cd ~/kernel/kernel-4.9
Once we’re in the kernel directory, we’ll save the current kernel configuration from the Nano to it:
zcat /proc/config.gz > .config
Now we need to copy the USB firmware from the root filesystem into the kernel directory, since we want to pack it together with the kernel:
cp /lib/firmware/tegra21x_xusb_firmware ./firmware/
Now we need to change the kernel config, and since we’re using a GUI desktop environment on the Nano, we can just use menuconfig:
sudo apt-get install libncurses5-dev
make menuconfig
You should see something like this:
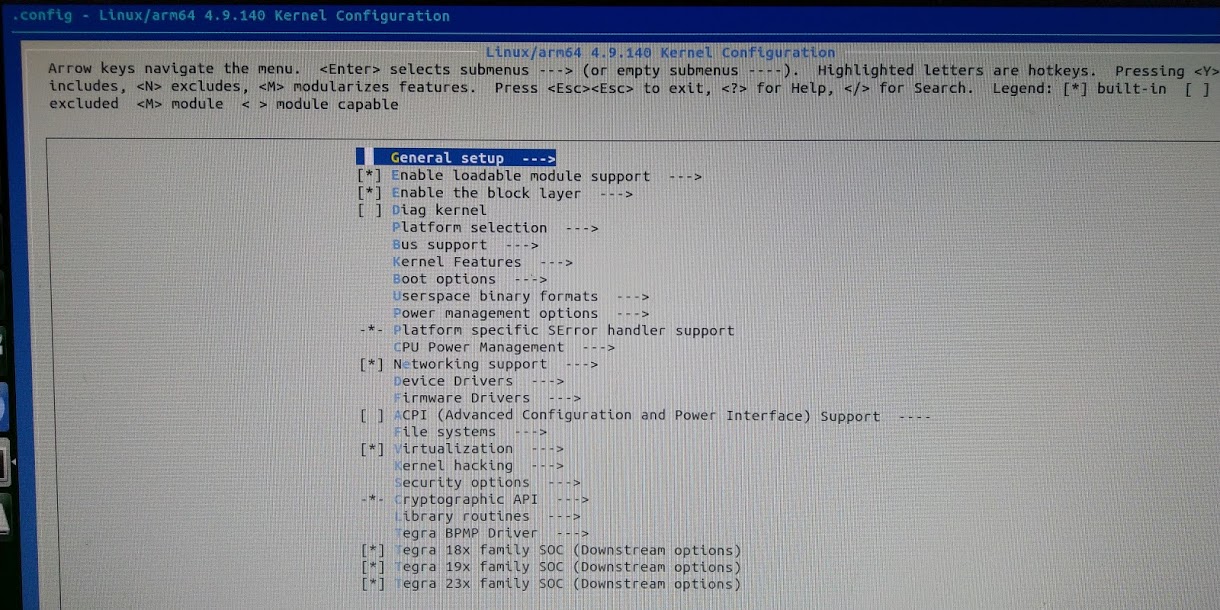
When selecting kernel features in menuconfig, * denotes a built-in feature and M denotes a module. You’ll be wanting stars for the features you want to build in.
- Go to Kernel features:
- Select: Enable frontswap to cache swap pages if tmem is present
- Select: Compressed cache for swap pages (EXPERIMENTAL) (NEW)
- Select: Low (Up to 2x) density storage for compressed pages
We didn’t select the 3x allocator (z3fold) because isn't reliable prior to mid-4.20 kernel versions. With same-filled page merging, the results are about the same as the zbud 2x allocator.
- Exit
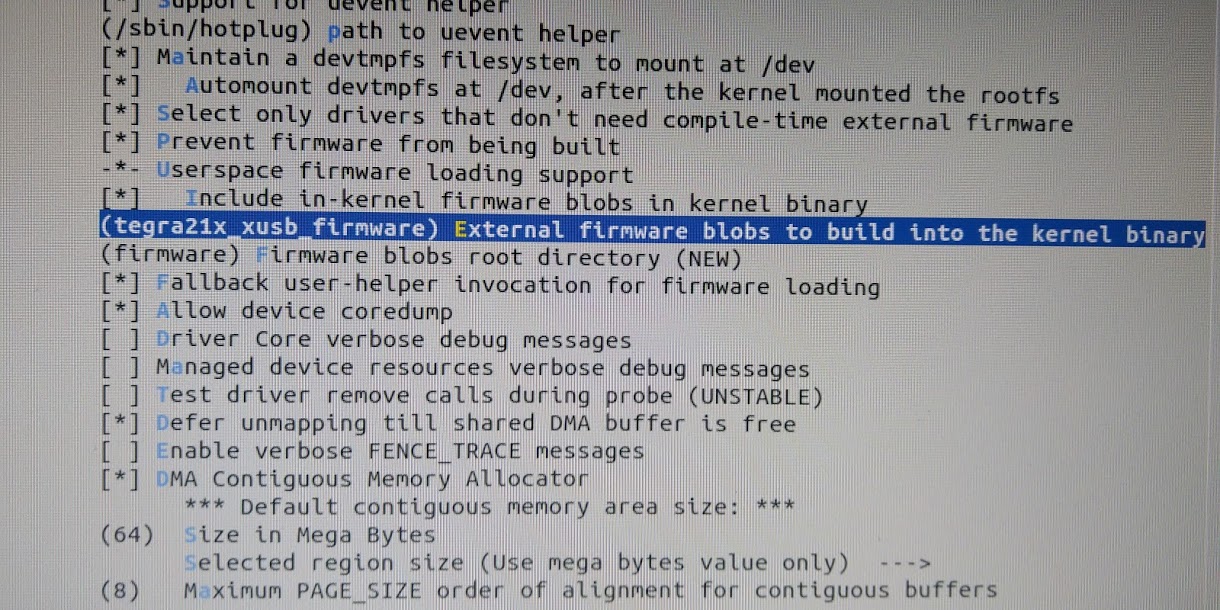
- Go to Device Drivers
- Generic Driver Options
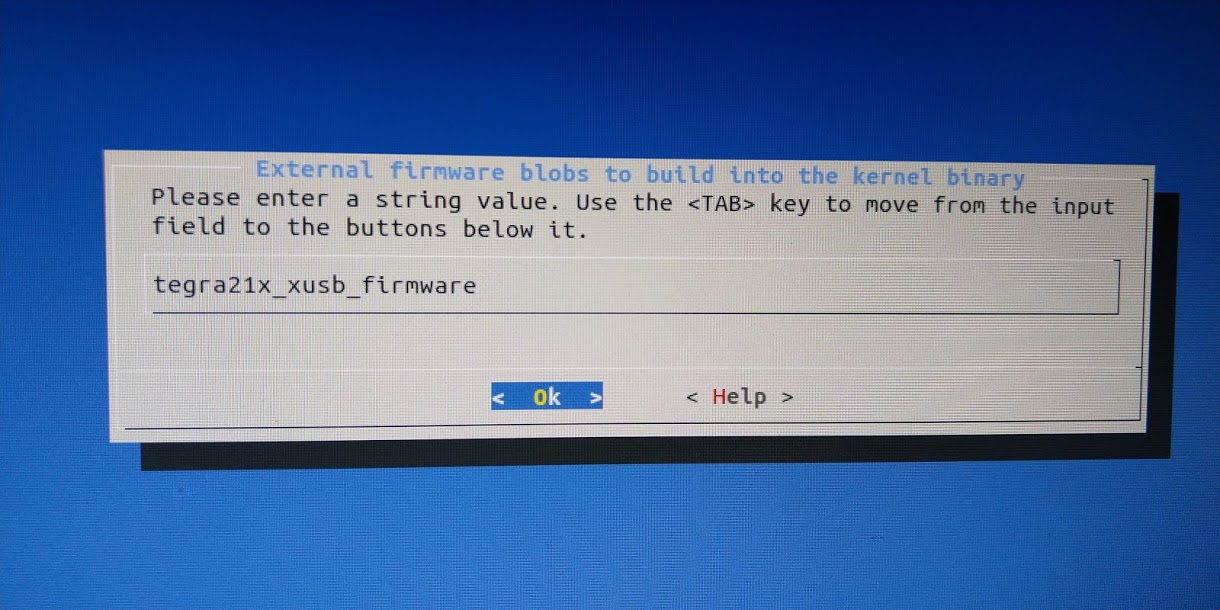
- External firmware blobs to build into the kernel binary
- Type: “tegra21x_xusb_firmware”
- External firmware blobs to build into the kernel binary
- Exit
- Generic Driver Options
- Save the new configuration
Now we’ll update ZSwap to enable same-filled page compression. The kernel that the Jetson Nano is running at the time of writing is 4.9, which doesn’t include it, but it can easily be backported from a newer kernel.
One of the best things about Linux, what makes it what it is, is that it’s available for everyone, and we can find it on Linus Torvalds’ GitHub:
- Go to the Linux kernel source on GitHub
- Go to mm/zswap.c
- Take a look at the commit history by clicking on the History button
- Find the zswap: same-filled pages handling commit
On GitHub, you can add .patch at the end of the URL to get the patch file for the commit you’re looking at. Just be sure to remove the #diff parameter from the URL if you’re looking at the diff from the commit.
- Download the patch file for the same-filled pages commit
- Patch the kernel using patch -p1 and the downloaded patch
- There is a memset_l call in the patch we’ve just applied, and it doesn’t exist yet in the 4.9 kernel, so we’ll need to replace it with the regular memset.
See instructions below:
Make sure you’re in the kernel-4.9 directory before proceeding.
# You should be in the Downloads directory
wget https://github.com/torvalds/linux/commit/a85f878b443f8d2b91ba76f09da21ac0af22e07f.patch
# Change to the kernel directory
cd ~/kernel/kernel-4.9
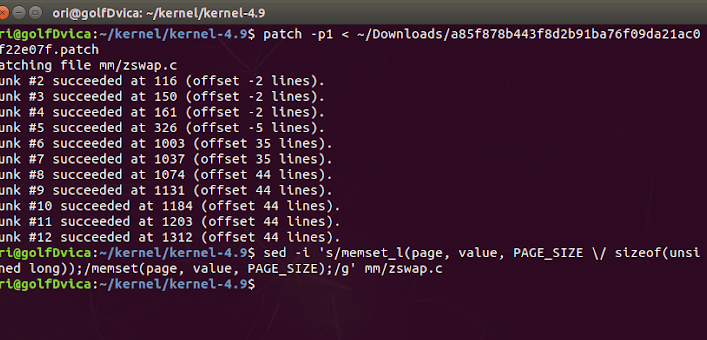
patch -p1 < ~/Downloads/a85f878b443f8d2b91ba76f09da21ac0af22e07f.patch
# Replace the nonexistent memset_l call with the regular memset
sed -i 's/memset_l(page, value, PAGE_SIZE \/ sizeof(unsigned long));/memset(page, value, PAGE_SIZE);/g' mm/zswap.c
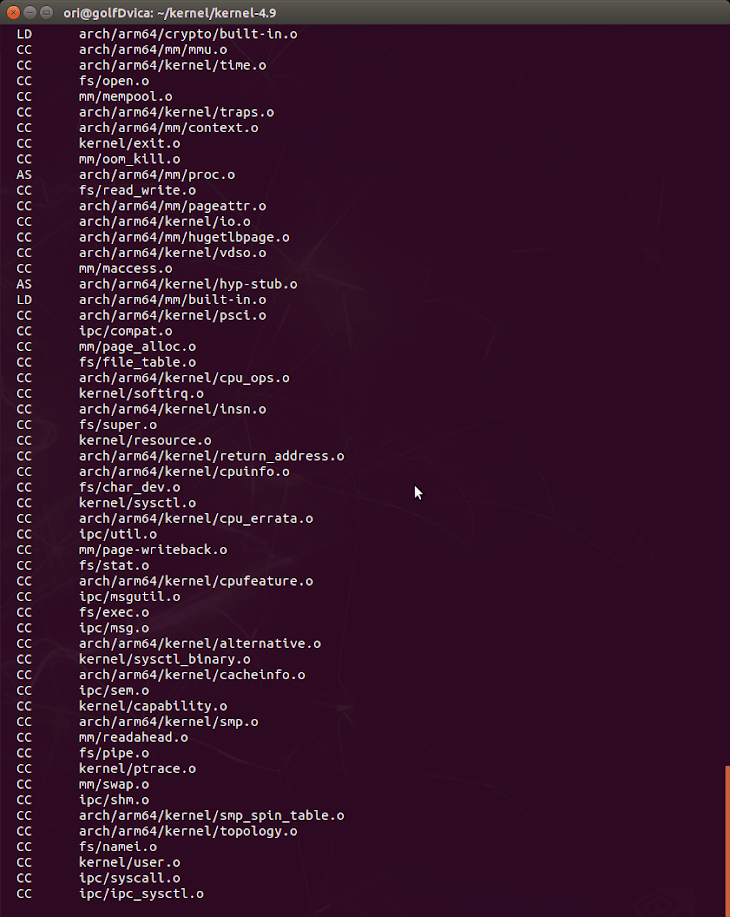
Building and installing the kernel
Now that we’ve made all of the changes we wanted to the kernel, we need to build it and place it on the /boot partition.
This will take a while.
# Make sure we're in the kernel directory
cd ~/kernel/kernel-4.9
make -j5 # -j denotes the number of threads
sudo make modules_install
sudo cp /boot/Image /boot/Image.dist
sudo cp arch/arm64/boot/Image /boot
After this is done, you can reboot. If the Nano boots successfully, it means that you’re running your new custom kernel. You can run uname -r to check it:
# The stock kernel returns '4.9.140-tegra'
# Your custom kernel should return only '4.9.140'
uname -r
If all is well, we can transfer our root partition to the external SSD.
This will also take a while when you get to the copying of the root filesystem to the SSD.
- Plug the SSD in
- Wipe the partition table
- Create a GPT partition table
- Create a new EXT4 volume 4 gigabytes smaller than the SSD
- Create a 4 gigabytes swap partition
See steps below:
# Wipe the partition table
sudo dd if=/dev/zero of=/dev/sda bs=1M count=1

# Create a GPT partition table, then create a new EXT4 volume
# Create a Linux swap partition (4GB) - arrow over to "Type" and select "Linux swap"
# Go over to "Write" and type "yes" and then quit
sudo cfdisk /dev/sda

# Make an ext4 volume and a swap partition
sudo mkfs.ext4 /dev/sda1
sudo mkswap /dev/sda2

# Mount the partition and copy the root filesystem to it
sudo mkdir /mnt/root
sudo mount /dev/sda1 /mnt/root
sudo mkdir /mnt/root/proc
sudo apt -y install rsync
sudo rsync -axHAWX --numeric-ids --info=progress2 --exclude=/proc / /mnt/root
- Edit /boot/extlinux/extlinux.conf so that the kernel points at /dev/sda1 instead of /dev/mmcblk0p1 (the microSD)
- Enable zswap in extlinux.conf
sudo sed -i 's/mmcblk0p1/sda1/' /boot/extlinux/extlinux.conf
sudo sed -i 's/rootwait/rootwait zswap.enabled=1/' /boot/extlinux/extlinux.conf
Reboot, and you should be running from the USB SSD.
If you mess something up and the Nano doesn’t boot, don’t worry, you can always plug the microSD into a Linux PC and mount it, go to the boot partition and open the extlinux/extlinux.conf file and replace sda1 with mmcblk0p1 so it boots from the microSD.
If you somehow end up messing up the extlinux.conf file, I’ve provided a copy for you down below, so you can overwrite it as stated in the tip above and boot back to the microSD:
TIMEOUT 30
DEFAULT primary

MENU TITLE p3450-porg eMMC boot options

LABEL primary
      MENU LABEL primary kernel
      LINUX /boot/Image
      INITRD /boot/initrd
      APPEND ${cbootargs} rootfstype=ext4 root=/dev/sda1 rw rootwait
Tweaking swap
One last thing to do after you boot from your SSD, enable swap:
echo "/dev/sda2            none                  swap           \
defaults                                     0 1" | sudo tee -a /etc/fstab
And you’re done. Congrats on hacking the kernel and running your Nano from an external SSD. It’ll be worth it!