Building the mounting plates for the hardware
There are many options to go for when it comes to mounting your Nano and the rest of the hardware to your RC car.
Option 1: 3D printing
If you’re planning on 3D printing your parts, take a look at:
- The official DonkeyCar docs which contain a lot of 3D models for printing: chassis and adapters, mounting plates, more mounting plates, etc.
- Markku.ai’s Chilicorn Rail for the Tamiya cars
I actually used the Chilicorn Rail for the first iteration of my build, and was very lucky to have been introduced by my mentor to Mitch, who printed out the parts and helped me out with a ton of stuff since then:
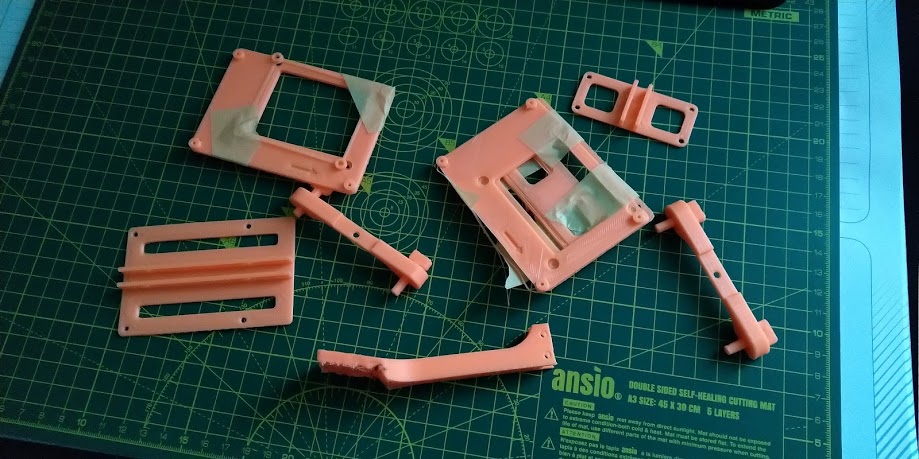
Even if you’re not planning on using this method, I’d still recommend at least getting the RPi camera mount 3D printed, since it’s kinda difficult to get it to the right angle and position if you’re making something out of raw materials yourself.
Option 2: Hack something together yourself
If you’re planning on hacking something together by yourself, you can pretty much do anything you want. I used a special aluminium plate I got as a donation for my thesis from my mentor’s father :):
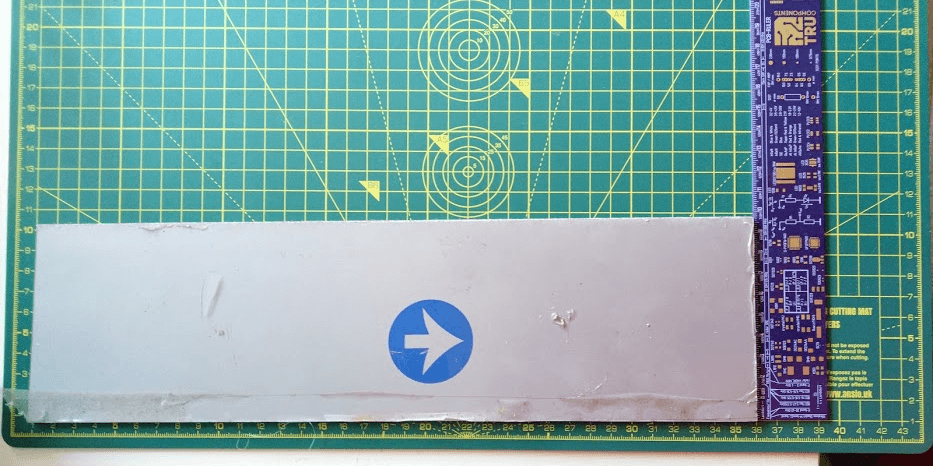
After some modeling and tinkering, I came up with the following idea for my mounts:
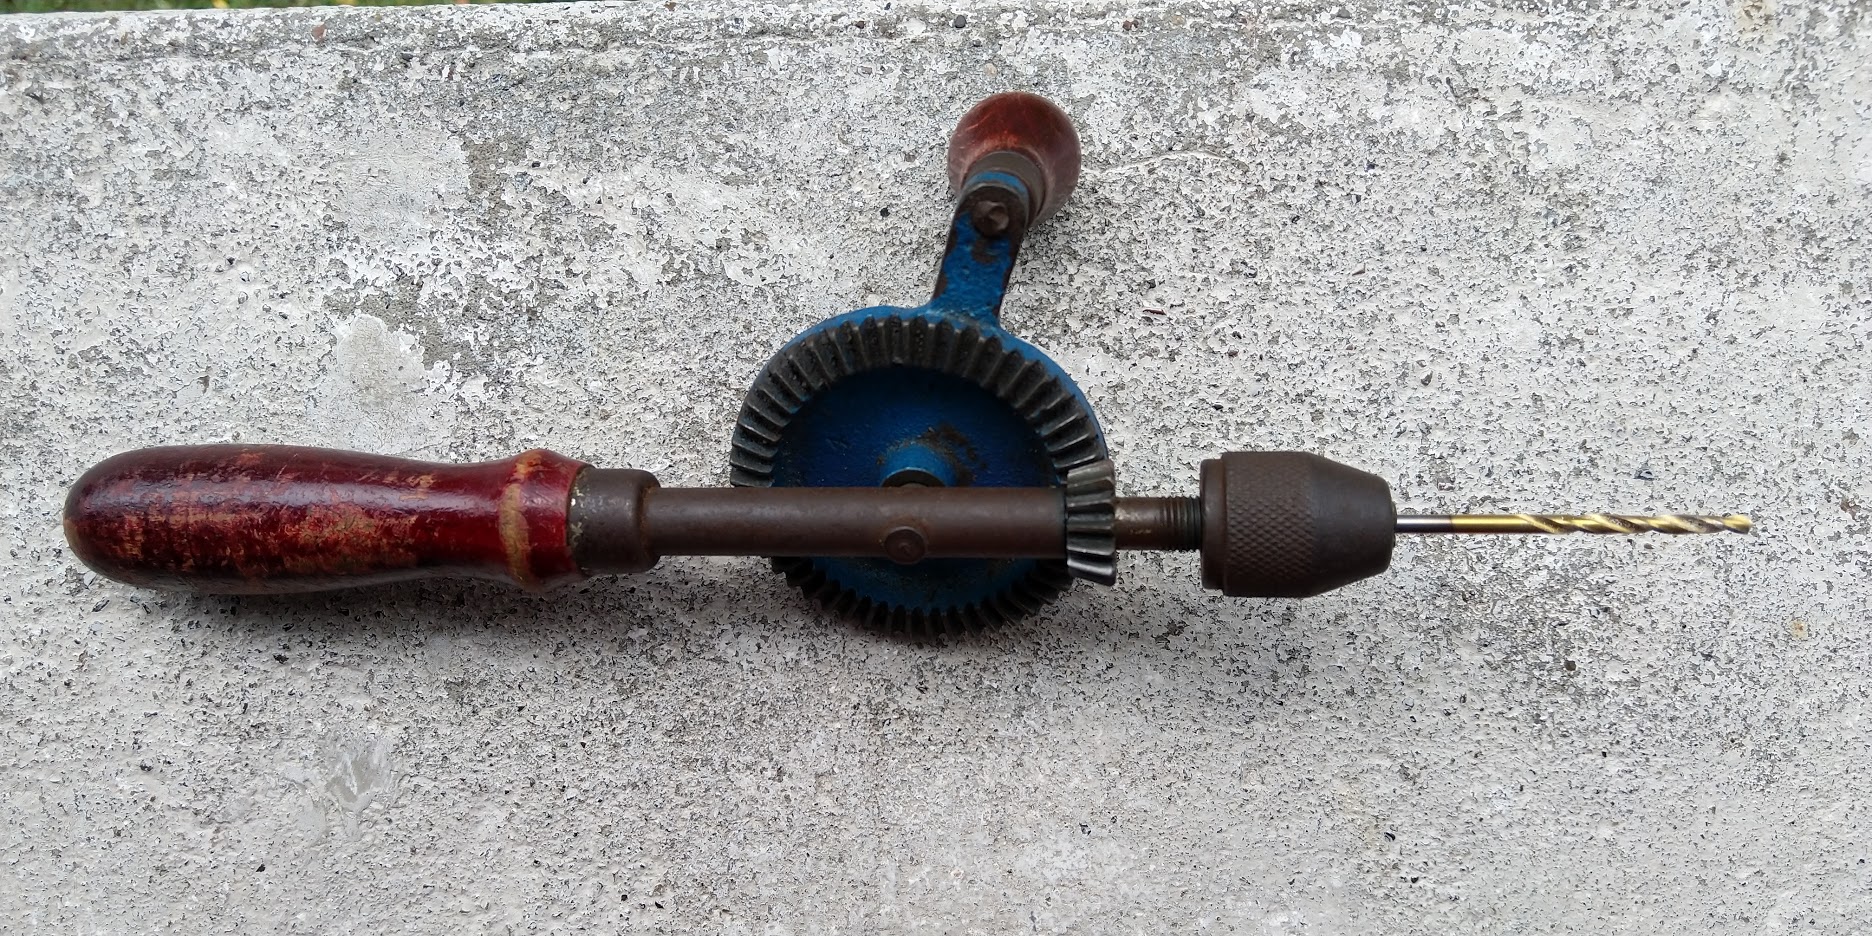
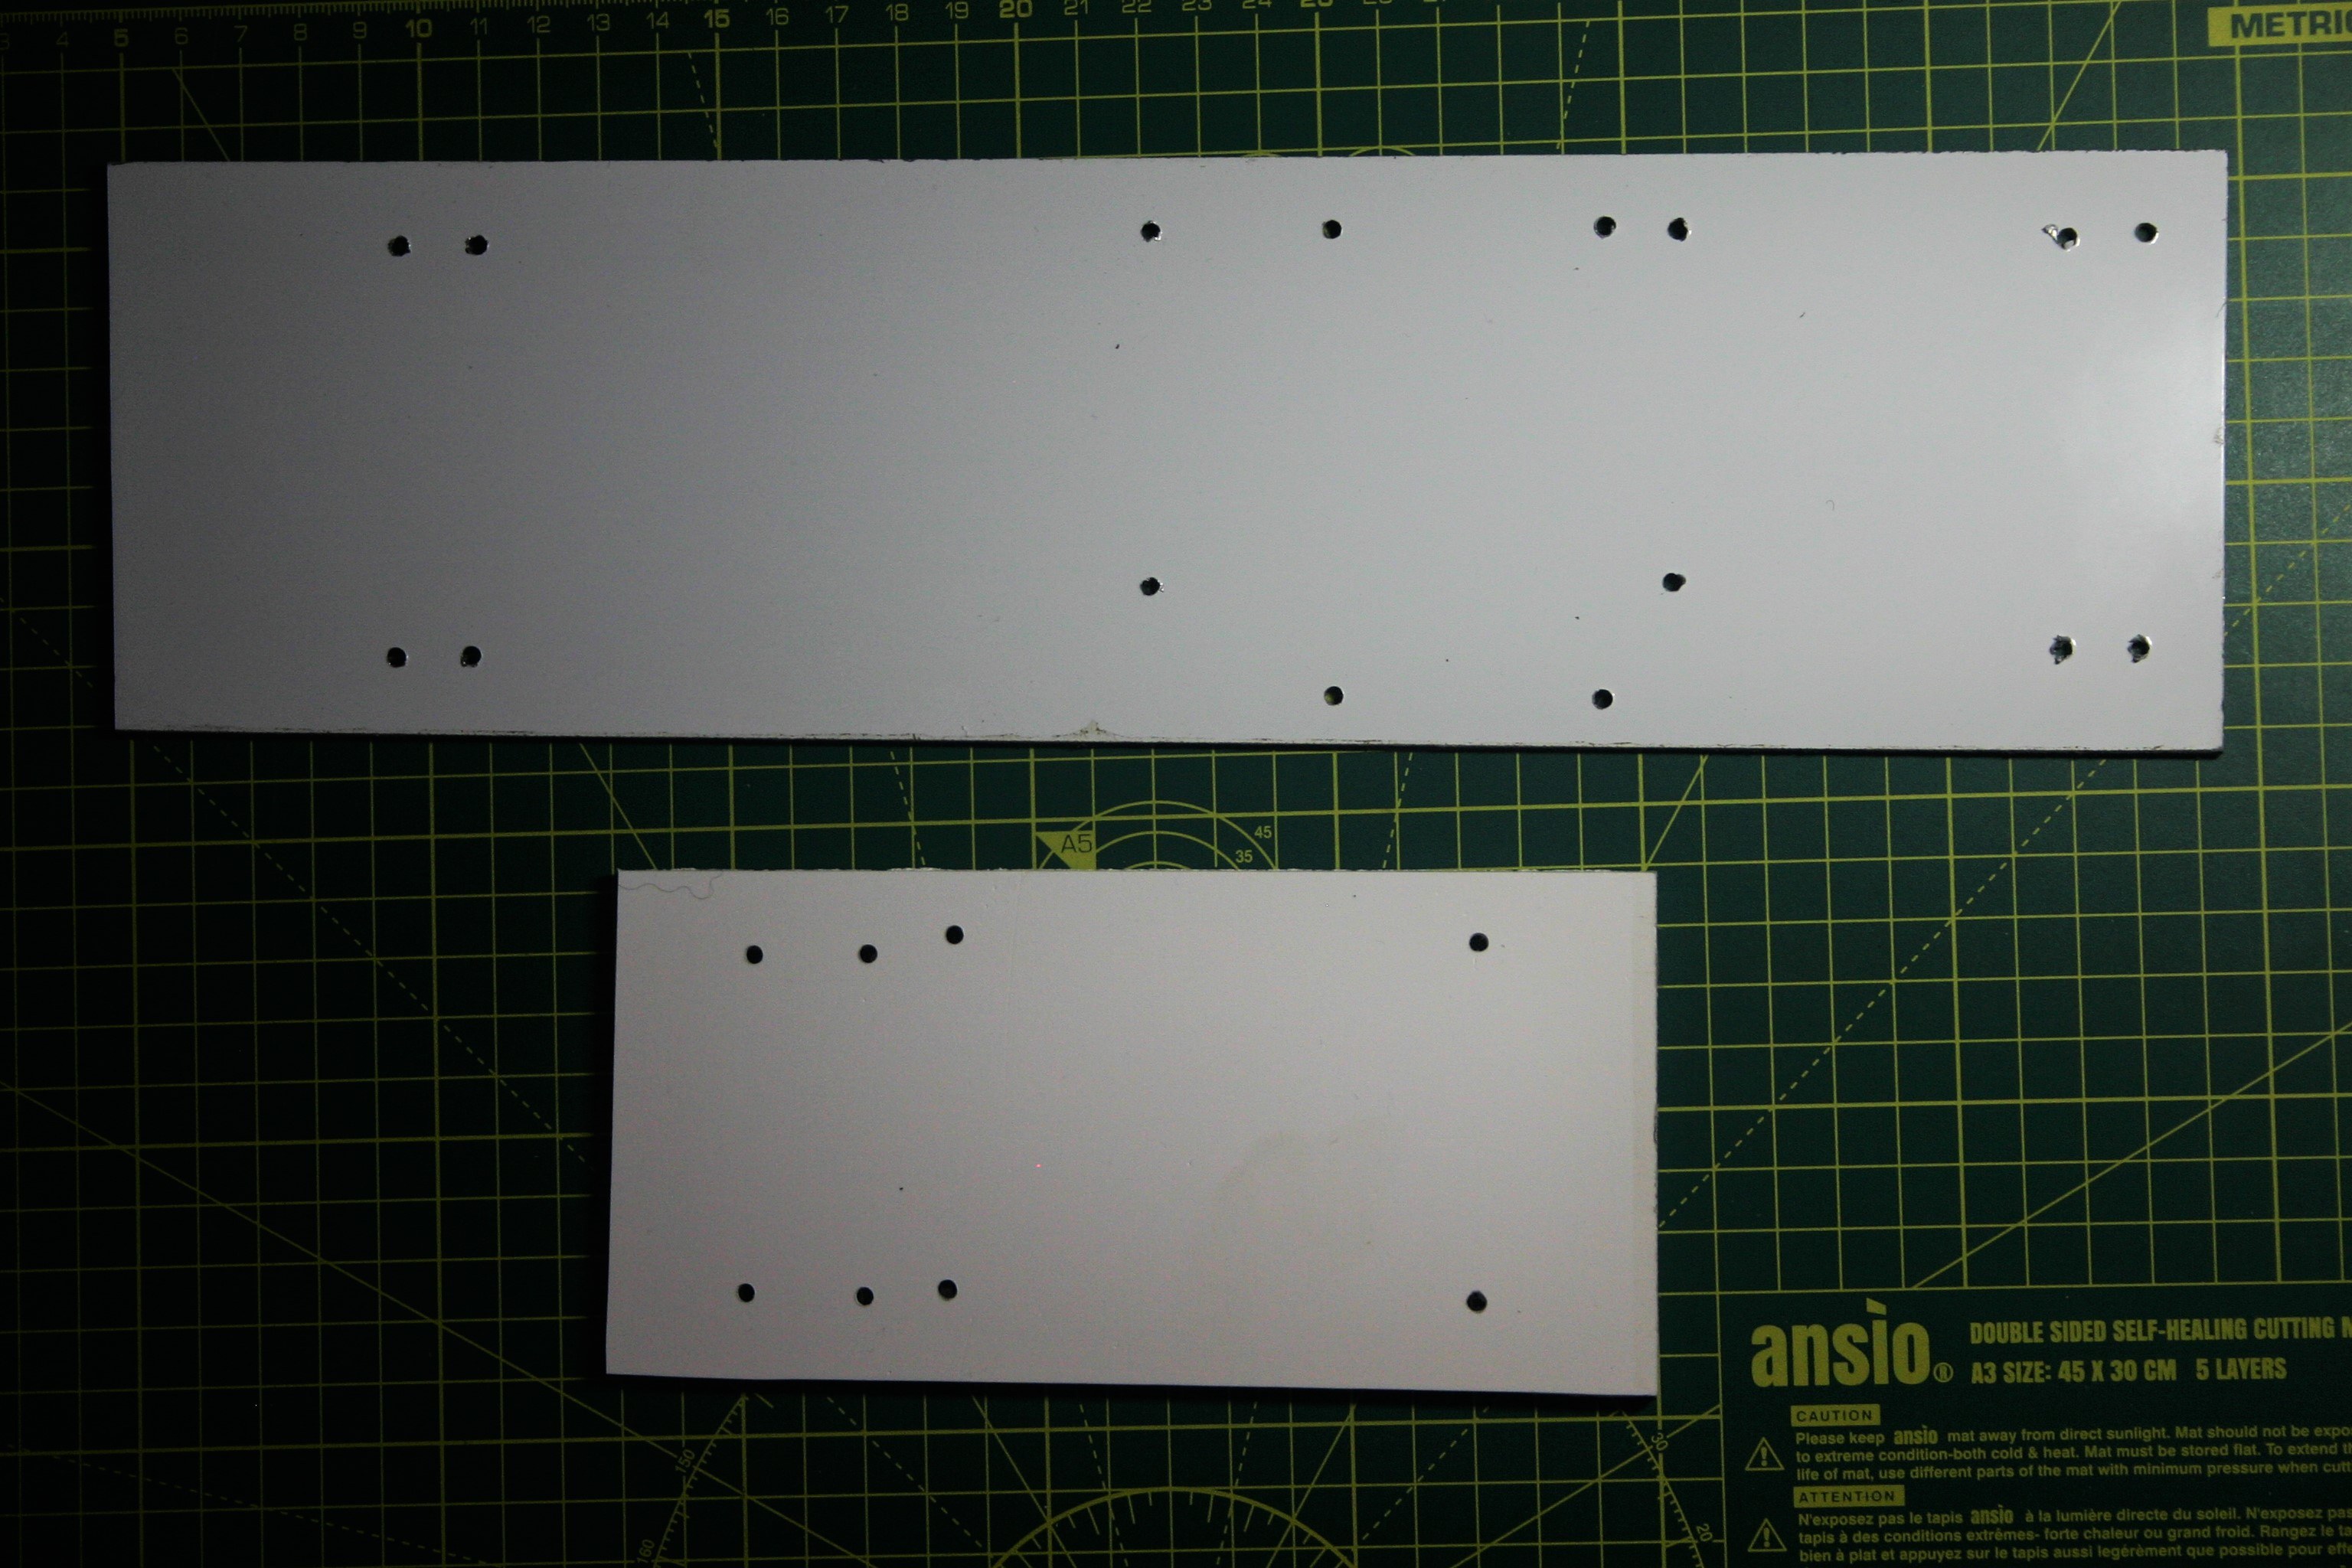
And after measuring up the dimensions and taking my materials, much to my surprise, I successfully drilled up my plates and got this:
With some zip-tie magic and screwing around 🙃 this was the end result:
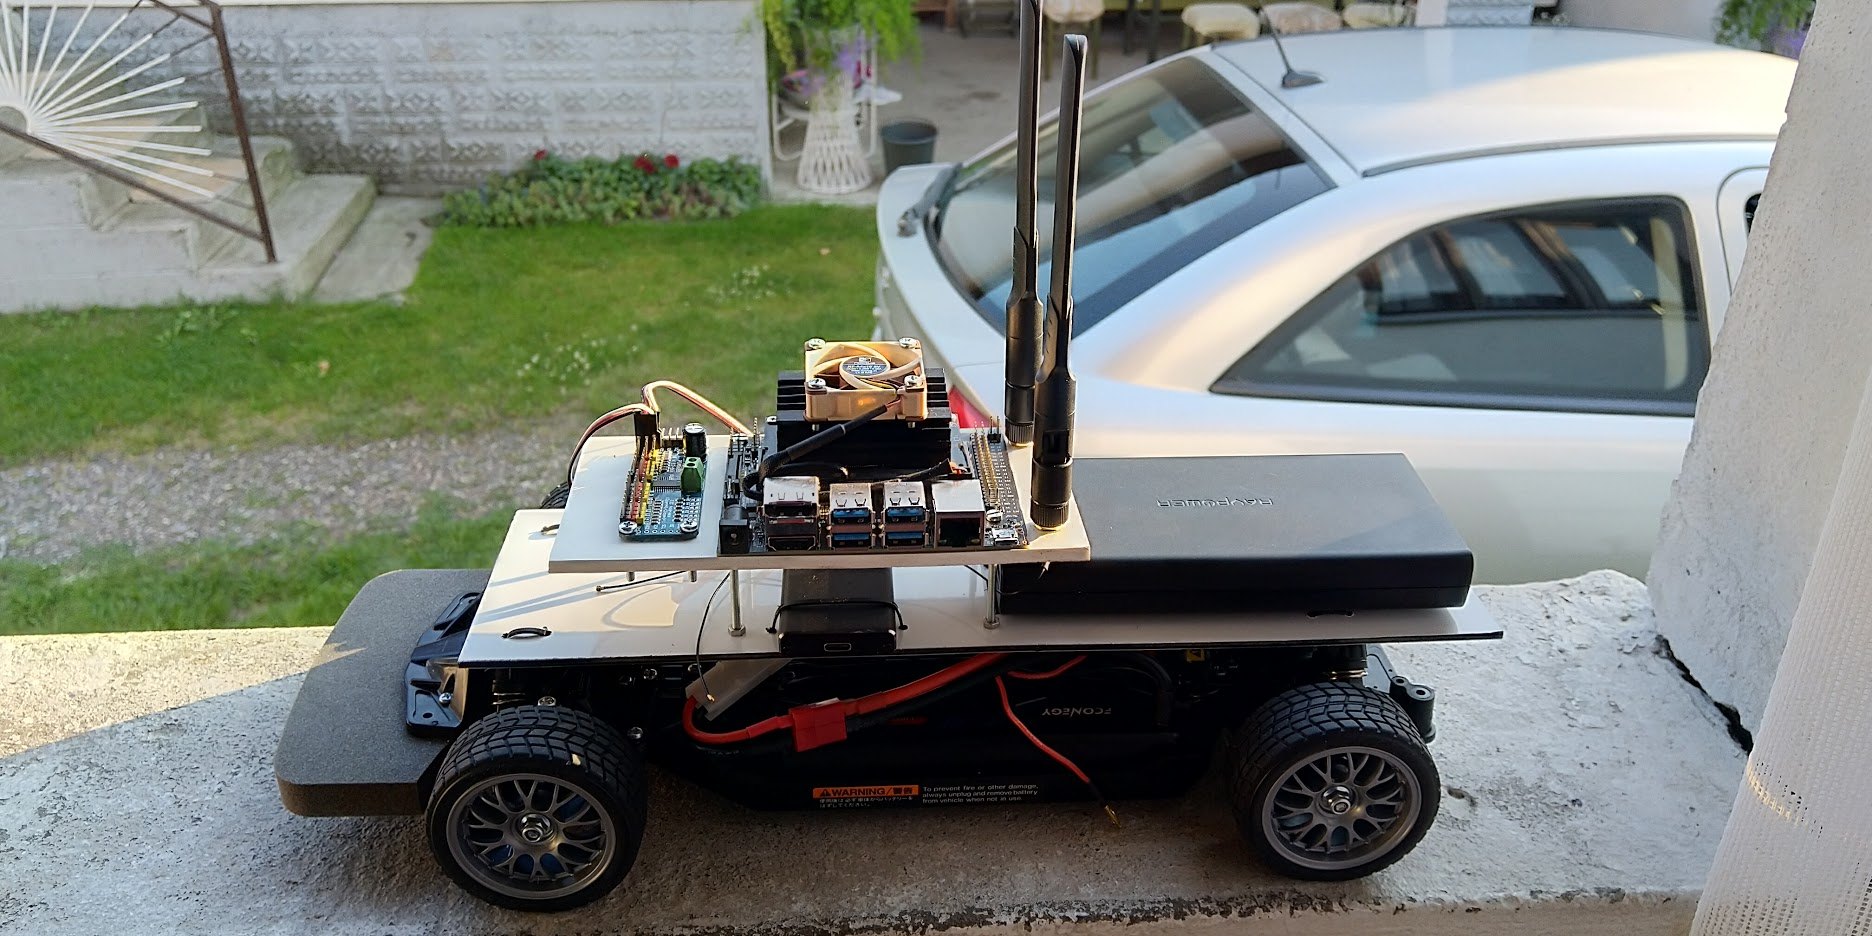
Nevermind the disconnected antennae, we’ll get to that in a second.