Hardware inventory
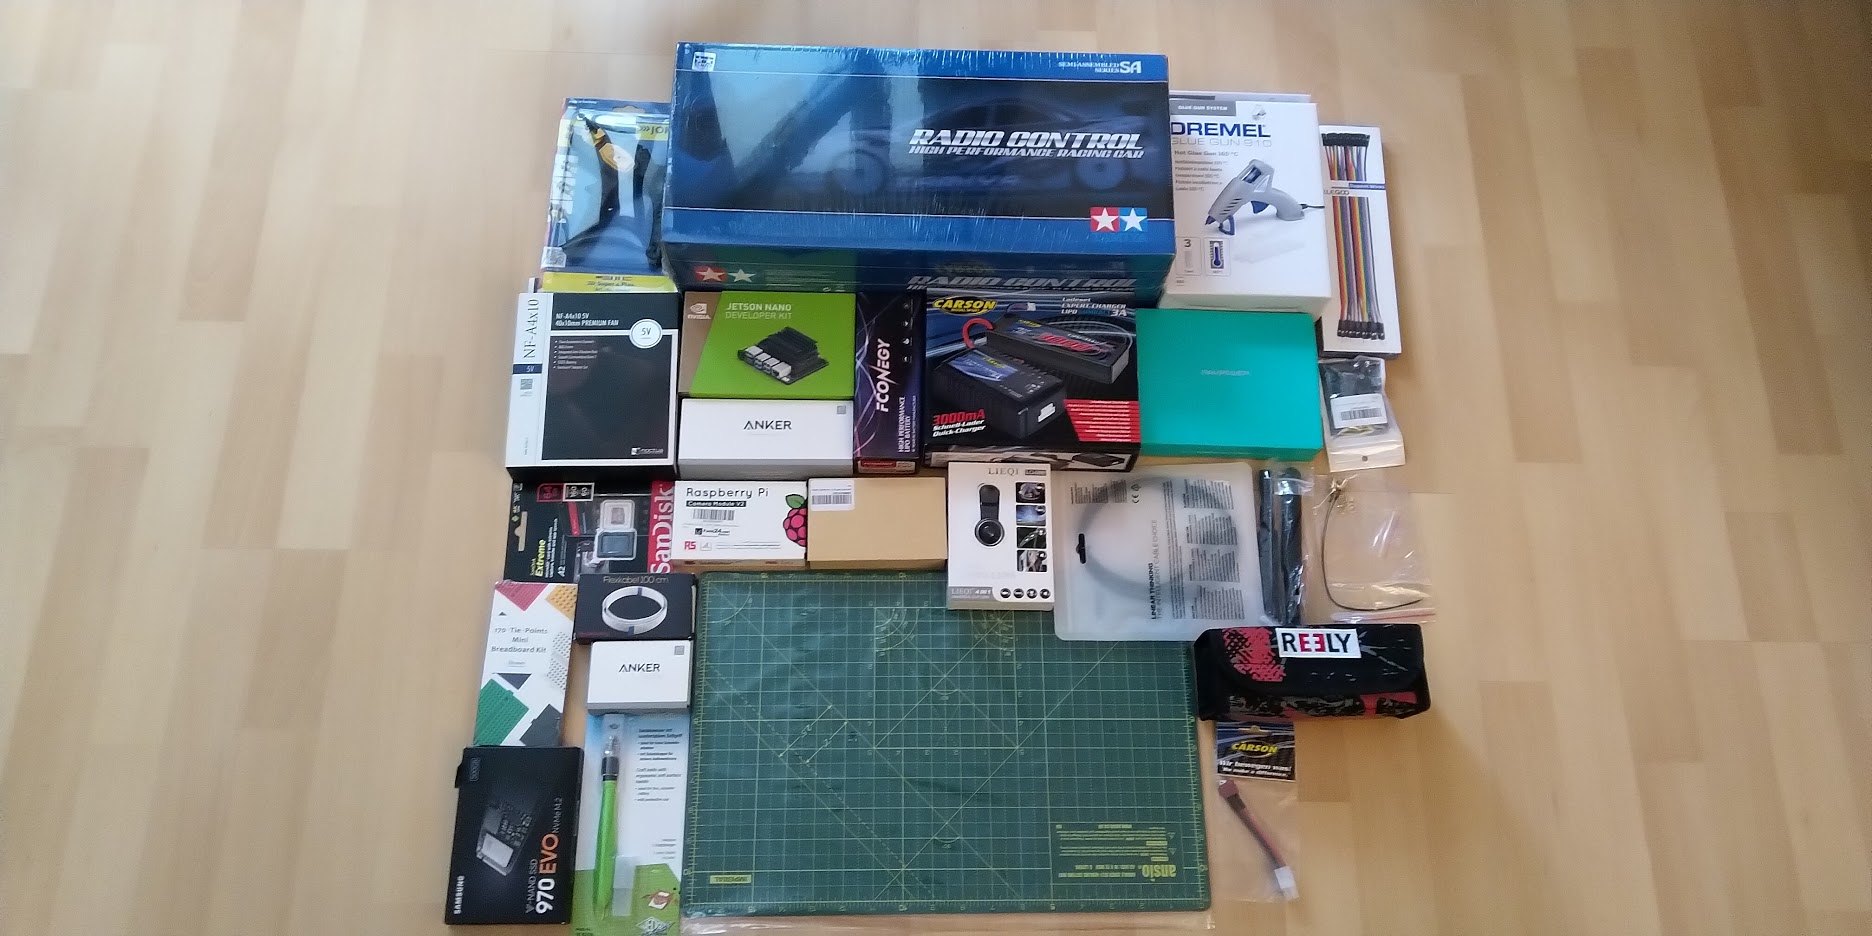
Let’s start with a list of all of the hardware I’ll be using through this tutorial, and of course, with the money shot:
RC Car kit
The RC Car I went with was the Tamiya TT-02, which came prebuilt and even included an receiver and a remote, for just a bit over 100€. Very lucky!
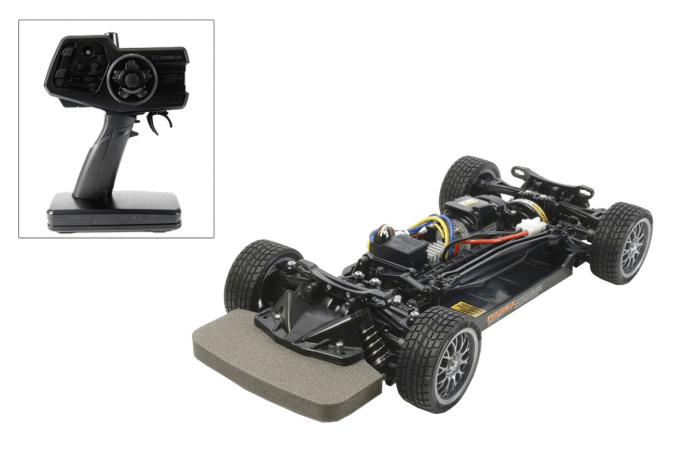
The reason I went with this is that it was just such a good deal for such a car. It’s 1:10 scaled, so I’ll have plenty of real estate for hooking all sorts of electronics on it, and it’s a really good car for on road driving. There’s plenty of mods available for it and plenty of extra parts, which I even got with it, such as extra wheel bases or additional mounting arms. After working with it for a couple months now, I’d highly recommend it.
Be sure to pay attention to the level of pre-assembly your kit comes with. There are kits that can take days to assemble if you’re doing all by yourself, and there are kits that are completely pre-built out of the box (commonly denoted RTR - ready to run). If you’re up for a challenge, get a Tamiya kit that isn’t prebuilt. They have great instructions and it’s fun to get to know your car inside out. The difficulty of assembly also varies by car, and is often denoted on the box or in the instructions.
Charger and batteries
I got a Carson Expert Charger LiPo Compact 3A set, with a Carson 3000mAh LiPo battery, for under 30€, which is also pretty sweet!
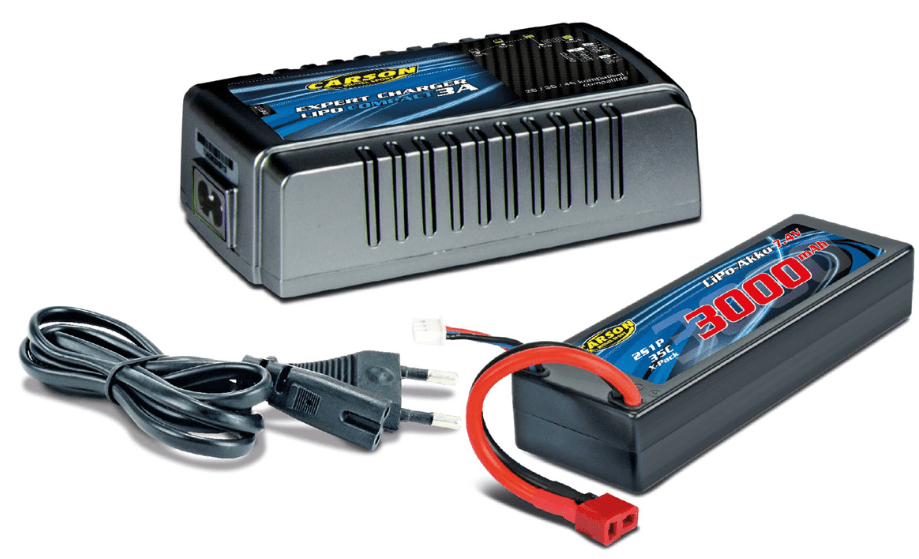
I’d very much recommend getting a ‘smarter’ charger, with a balancing connector so you know exactly how much your battery is charged. You’ll want to store them at around 70% of their capacity if you’re not using them.
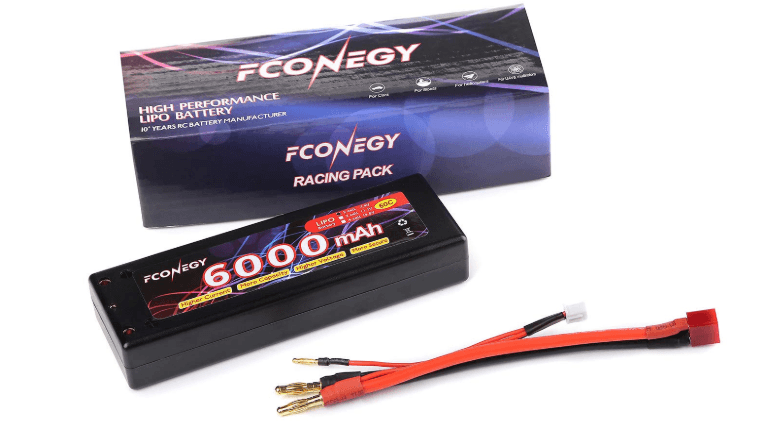
I also went ahead and got an extra Fconegy 6000 mAh LiPo battery for around 25€.
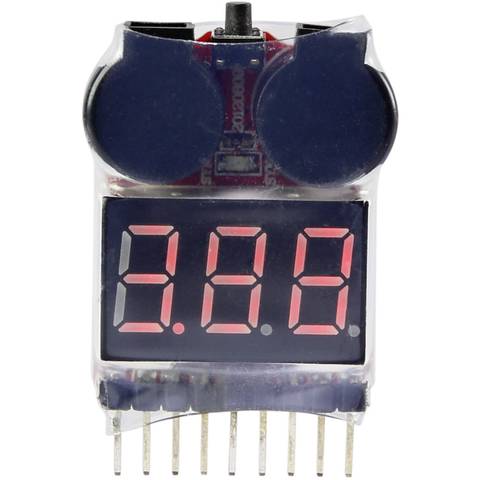
And of course, per my warning on the batteries section at the RC Car primer, I got a LiPo alarm and a charging bag to avoid any unnecessary explosions, housefires or general mayhem. It’s just an extra 20€ or so, but it’s very much so worth it.

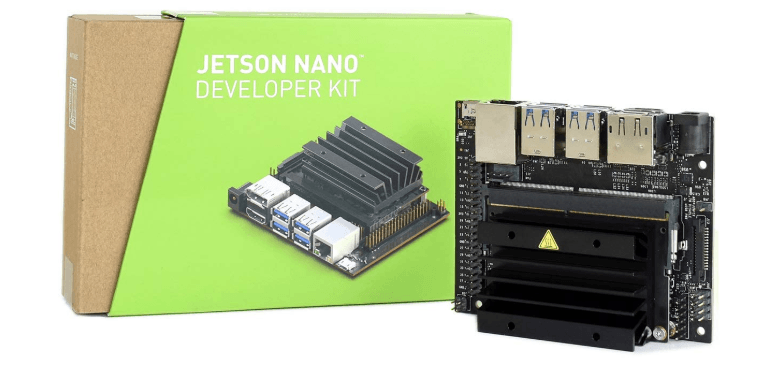
Jetson Nano
Ah, the 🧠z of the project, the Jetson Nano Developer Kit. It’s pretty much the way to go for 100€ or so, it packs a pretty decent GPU, 4x USB 3.0 ports, a real gigabit ethernet port, and you can punch a bit more power into it with a jumper and a 4A@5V power source with a barrel jack cable.
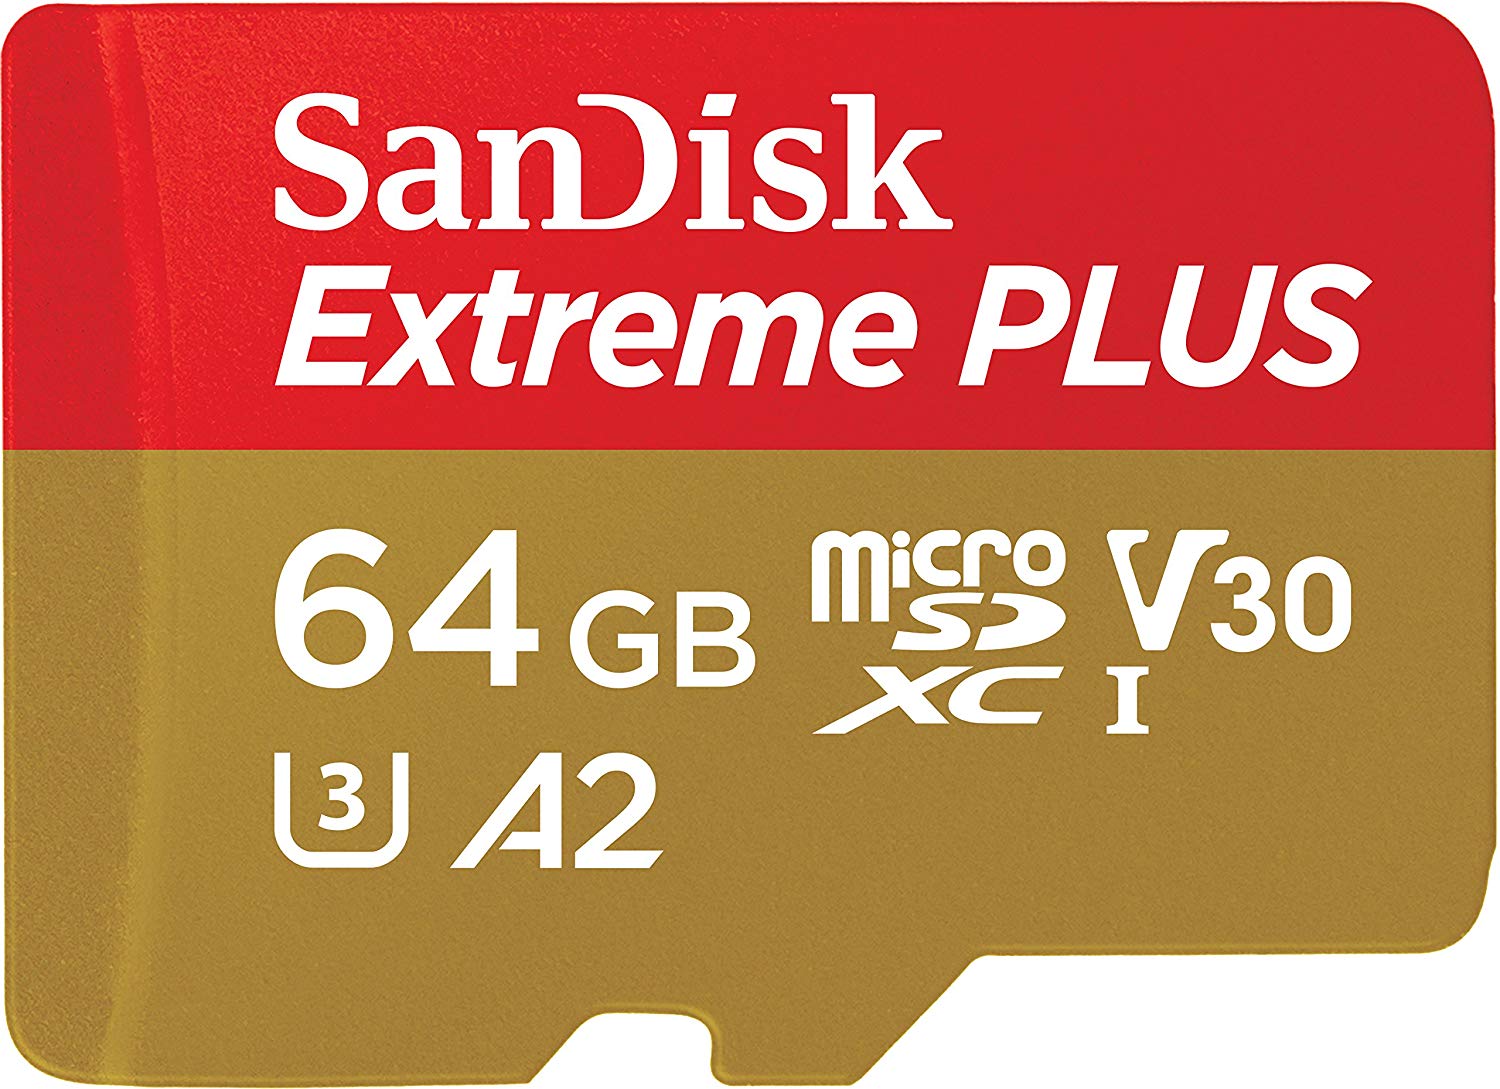
Jetson Nano: MicroSD card
You’ll be needing a microSD card to run your Jetson Nano OS, and you should try getting a faster on (at least Class 10, preferably UHS-II or faster :)).
I got an Sandisk Extreme 64GB A2, UHS-3 card for about 25€.
You don’t have to get a huge (in terms of storage) microSD if you’re planning on using an external SSD with your Jetson. I’d say 32GB would be just enough, but the price difference isn’t that big, so you can go for the 64GB version just ‘cause.
Jetson Nano: Noctua Fan
If you’re planning to run the Jetson at fully capacity (4A barrel jack mode), which you most definitely should, it’s gonna need some help stayin’ cool, so you should get a fan for it.
You can pretty much get any 5V, 4-pin PWM, 40x40mm size fan, but I’d very much recommend going for a Noctua NF-A4 fan. You can choose between the 10mm or 20mm version, just be sure to get the 5V version of the fan and not the regular 12V one.
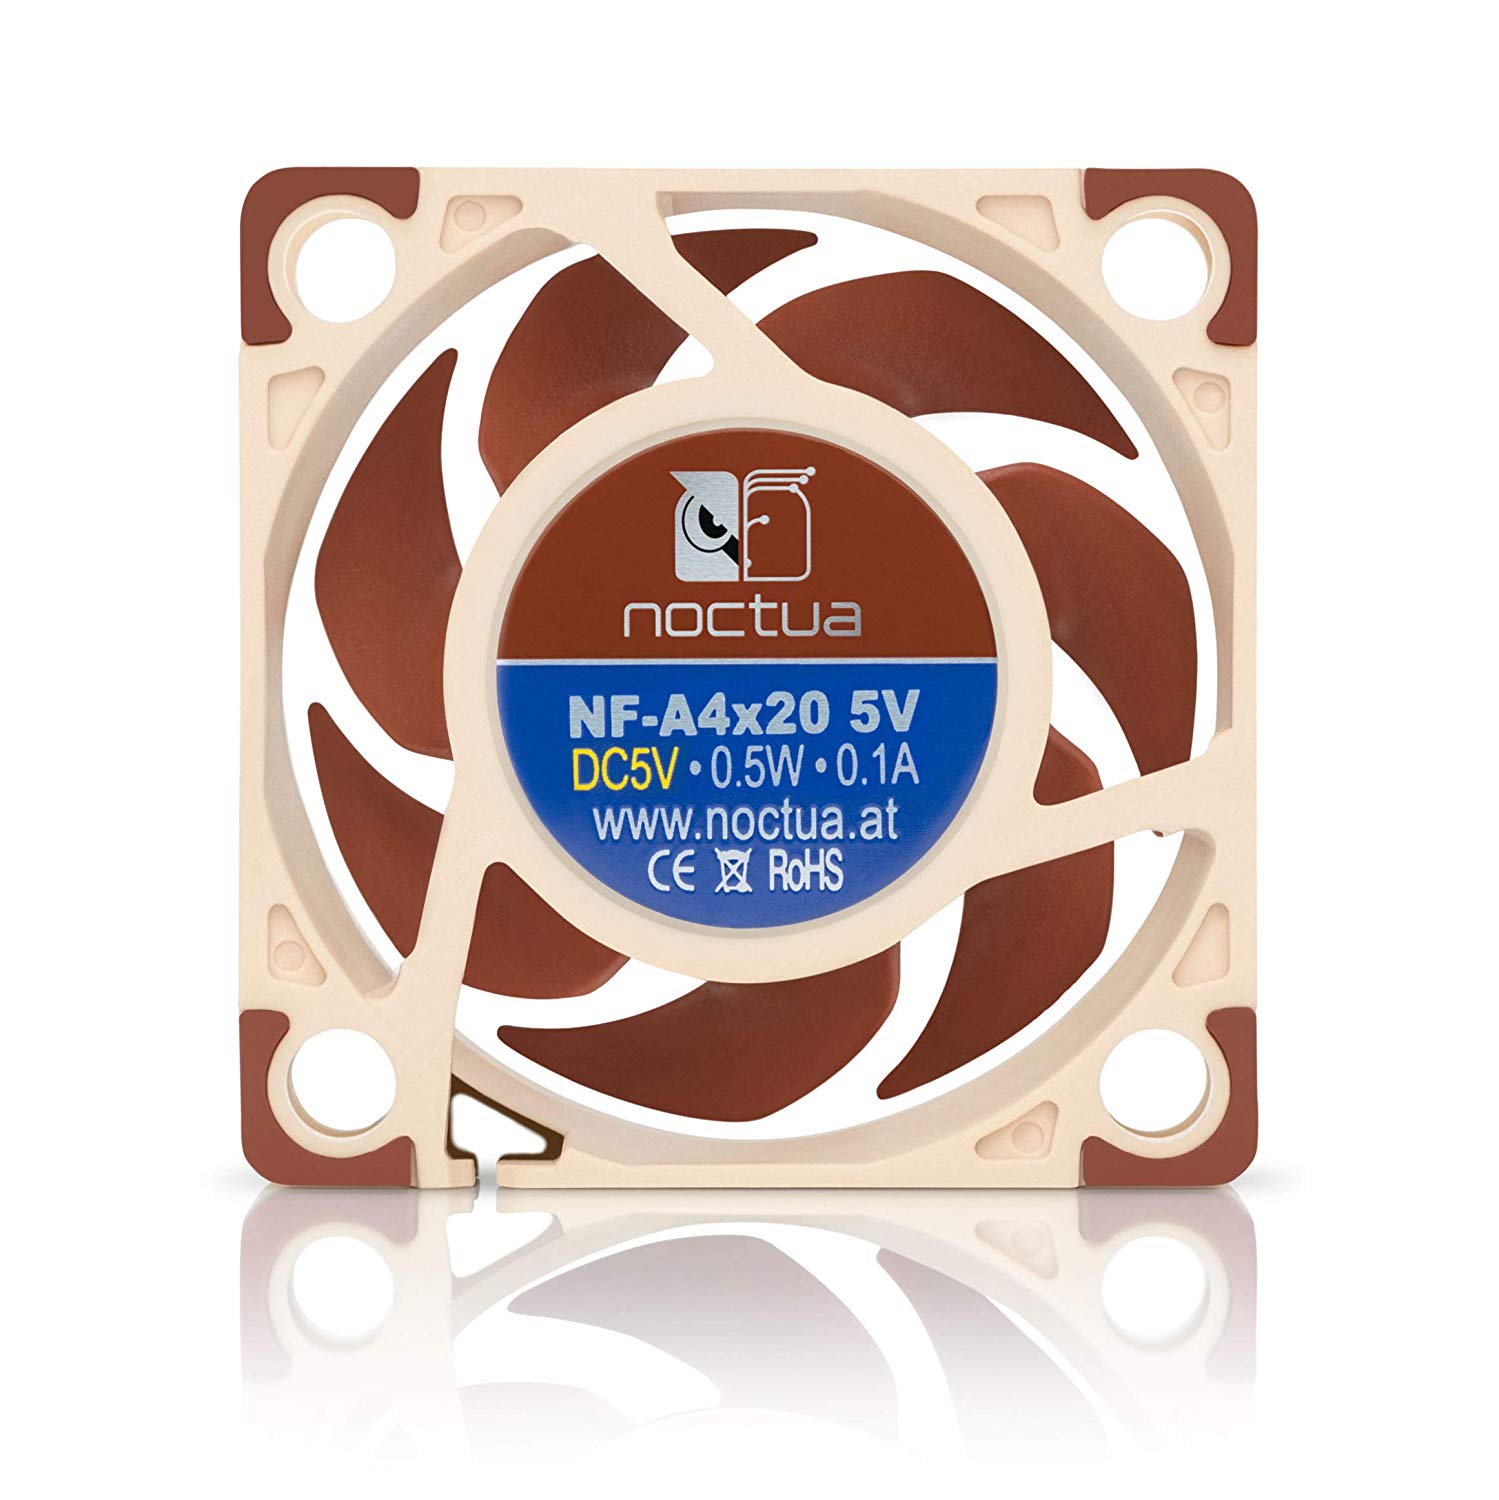
You can get the 20mm version for about 10-15€.
You’ll also want a couple of self-tapping M3 screws or regular M2 or M2.5 screws with nuts for mounting the fan to the heatsink. I’d recommend going with the self-tapping M3 screws, it’s so much easier. Also watch out for some aluminum shavings when you mount the fan on it, you wouldn’t want them getting to the circuitry below and causing mayhem.
Also, if you’re going with the 20mm version, get 25mm long screws. If you’re going with the 10mm version, get 15mm long screws.
Jetson Nano: Wireless LAN and Bluetooth
There are two options on getting your Nano (and your car) wirelessly connected:
- An M.2 WiFi + BT card
- USB WiFi and BT adapters
I’d highly recommend going for the M.2 option. I got the Intel 8265 card for about 10€.
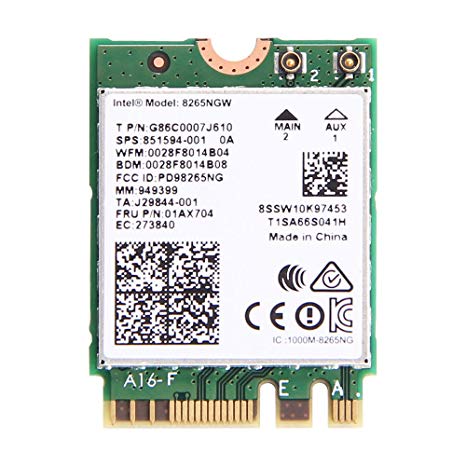
If you’re getting the M.2 variant, you’ll need two antennas and an IPEX MHF4 to RP-SMA adapter cable. Pay attention to the connector types, it’s easy to get a wrong one, and vendors often misuse the labels, mixing IPEX, uFL, IPAX, IPX, MHF, and AM. Sometimes they’re right, sometimes they’re not.
The Jetson Nano has a M.2 key E slot, just to keep in mind when getting a card. It also doesn’t work with NVME SSDs, if you’re wondering.
Beware of the model of the m.2 card you’re getting. At the time of writing, the Jetson Nano SD Card Image natively supports only the 8265. Technically, you should be able to use any Intel card older than the 8265 since it’s supported in the 4.9 kernel, but some people had issues running even the 7265. If you’re up to it, you can build the core14 branch on the backports git, but if you know how to do that, you probably don’t need me telling it about you.
Jetson Nano: Camera
To enable the car to look around itself and navigate itself, you’ll need a camera. You can use pretty much any USB camera, or you can use a MIPI CSI camera with the Nano.
The cool thing about the Jetson Nano is that it’s compatible with almost all Raspberry Pi products, which includes camera.
I went with the Raspberry Pi Camera v2, which uses the IMX219 sensor.
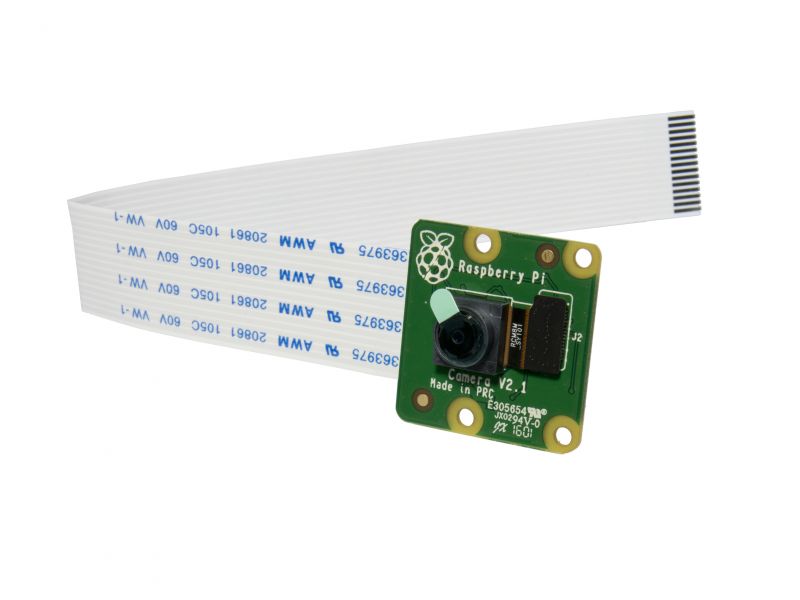
I’d recommend getting an extra longer flat cable, so you don’t have to worry about the positioning of the camera relative to the Nano on the vehicle, since you only get a rather short one with the camera you buy.
Now, about the almost all RPi products part mentioned above. If you’re buying a RPi Camera, make sure to get the newer version with the IMX219 sensor instead of the older (EOL) OV5647 sensor, since it’s not supported by the Jetson Nano image. Of course, you can build the drivers into the kernel yourself, but I’d go with the pragmatic solution on this one.
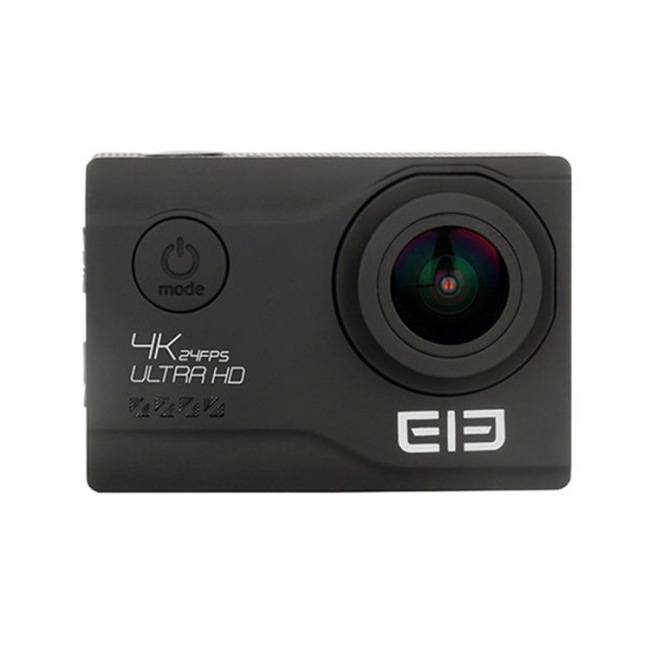
I may also be using an Elephone EleCam Explorer Elite 4K cam I had lying around as an additional camera just for fun.
PCA9685 Servo Driver
To enable your Jetson Nano to interface with your steering servo and ESC, you’ll need a PWM/Servo Driver. I’ll be using the PCA9685 over I2C, which is pretty cheap and has lots of extra channels.
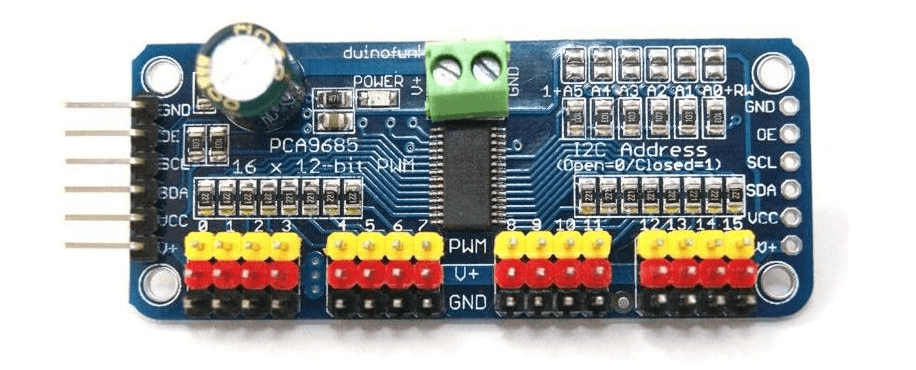
You might want to get some jumper cables if you don’t have any lying around, since you’ll have to connect this to the Jetson Nano’s GPIO pins somehow.
Jetson Nano: Power bank
To power all of this for a reasonable amount of time, you’ll want to get a pretty good power bank. I went with the RAVPower 20100 mAh USB-C power bank with 45W PD for about 50€.

You can pretty much get any power bank you’d like, but I’d recommend getting something above 10Ah and more than 2A if you plan on using the barrel jack connection on the Nano.
Jetson Nano: (Optional) External SSD
First of all, why:
- With a microSD, on average you’ll get ~ 87 MB/s read speed with an access time of ~0.52 milliseconds.
- With a SSD, you’ll get an average read rate of ~367 MB/s and an access time of ~0.29 milliseconds.
So go ahead and get an NVMe SSD and an external USB enclosure for it. I’ll be using a LITE-ON SSD I had lying around after replacing my Razer Blade Stealth OEM one with a Samsung 970 Evo.
Getting an external NGFF/M.2 SSD enclosure can be a very much hit-or-miss business if you’re trying to save a couple of bucks. I got lucky and got an off-brand one working at very decent speeds for some 20€. Other people I know haven’t been that lucky on their first attempt, so beware when buying it, make sure there’s an option to return it if it doesn’t work. :)
Although this gives you about 4x more speed with your Nano, it is fairly technical and complicated and includes manually patching and building a Linux kernel, so I can only assume that you’re very very interested, since it’s so much fun. You’re here to build a nothing less than a self-driving vehicle, what’s a little kernel hacking compared to it. :)
Jetson Nano: (Optional) Camera Lens Attachments
If you’re getting the standard Raspberry Pi Camera, it won’t have much of a FOV by itself. One thing you can do, is get one of the clip-on attachment lenses for smartphones, which can greatly increase its FOV.
I got something like this:
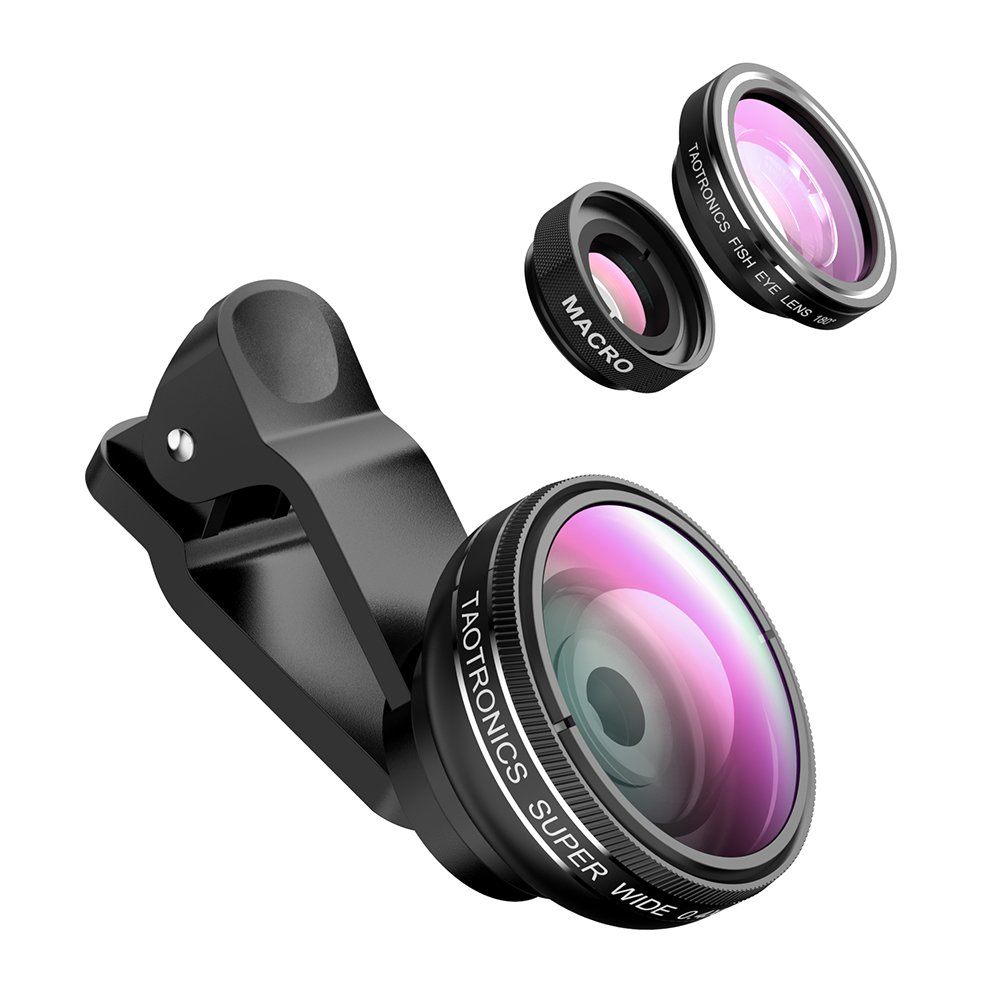
These lenses are what they are, cheap. With cheap lenses come all sorts of nasty stuff, like chromatic aberration and barrel distortion. Try to look at some of the customer reviews that contain photos and find one with a bit less distortion.
The Rest: Tools and stuff
Of course, you’ll need some basic tools, such as:
- A good scalpel
- A cutting board
- A hand drill (depending on what you’re planning to use as your base)
- Screwdrivers with an assortment of M3 screws (various lengths, with nuts)
But that’s pretty much it for the inventory. On to building it!