Assembling the Jetson Nano
Now we can finish up our Nano by connecting the WLAN card, microSD and the fan to it.
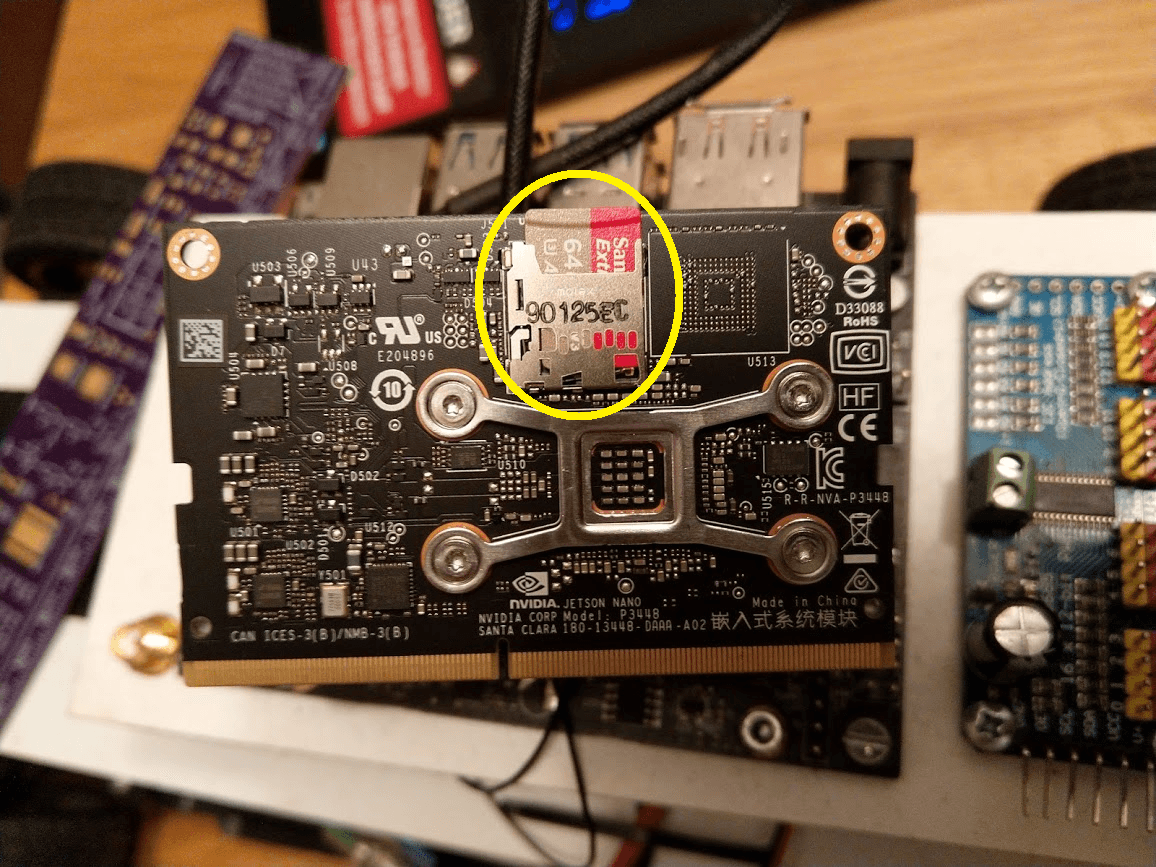
Plugging in the microSD
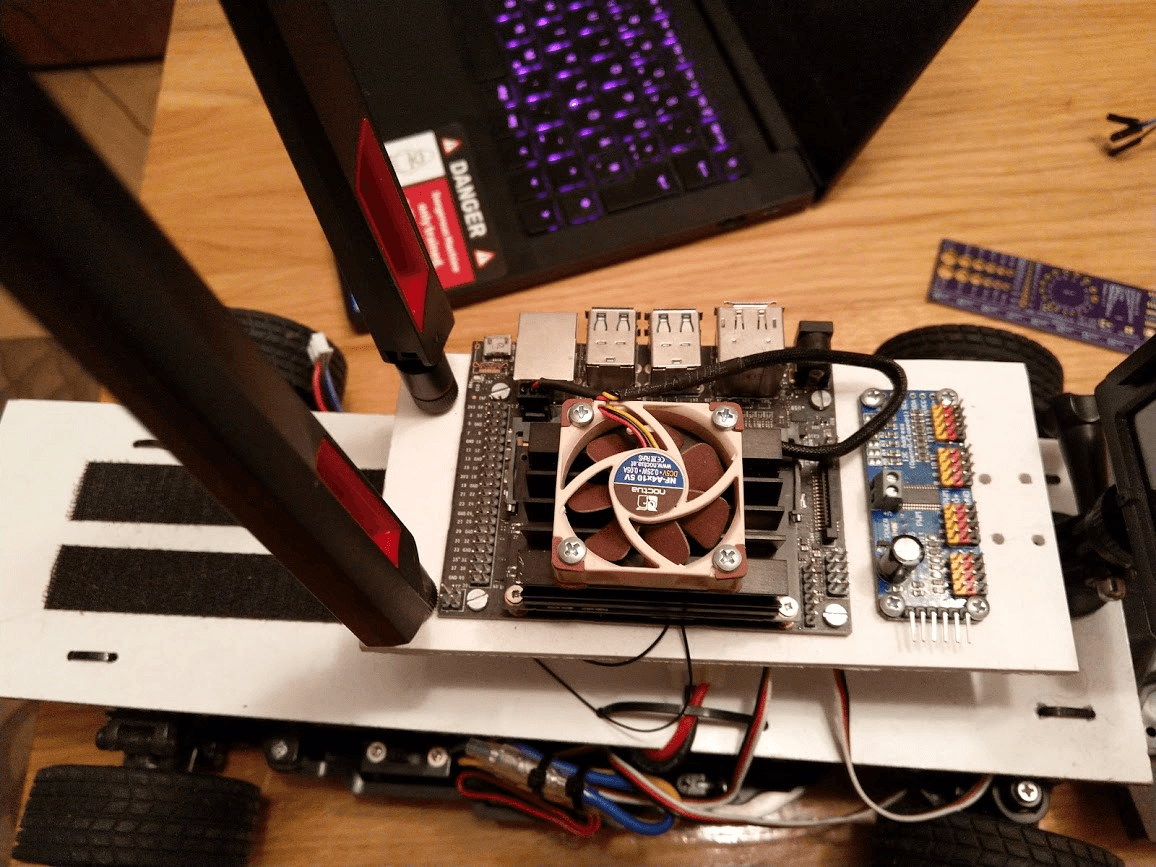
I actually already did a lot of assembly some time ago, and I'm writing this in retrospect, so don't be worried if my Nano has a lot of stuff already hooked up to it and if it looks a bit different than yours, just focus on the stuff we're going through and disregard the rest.
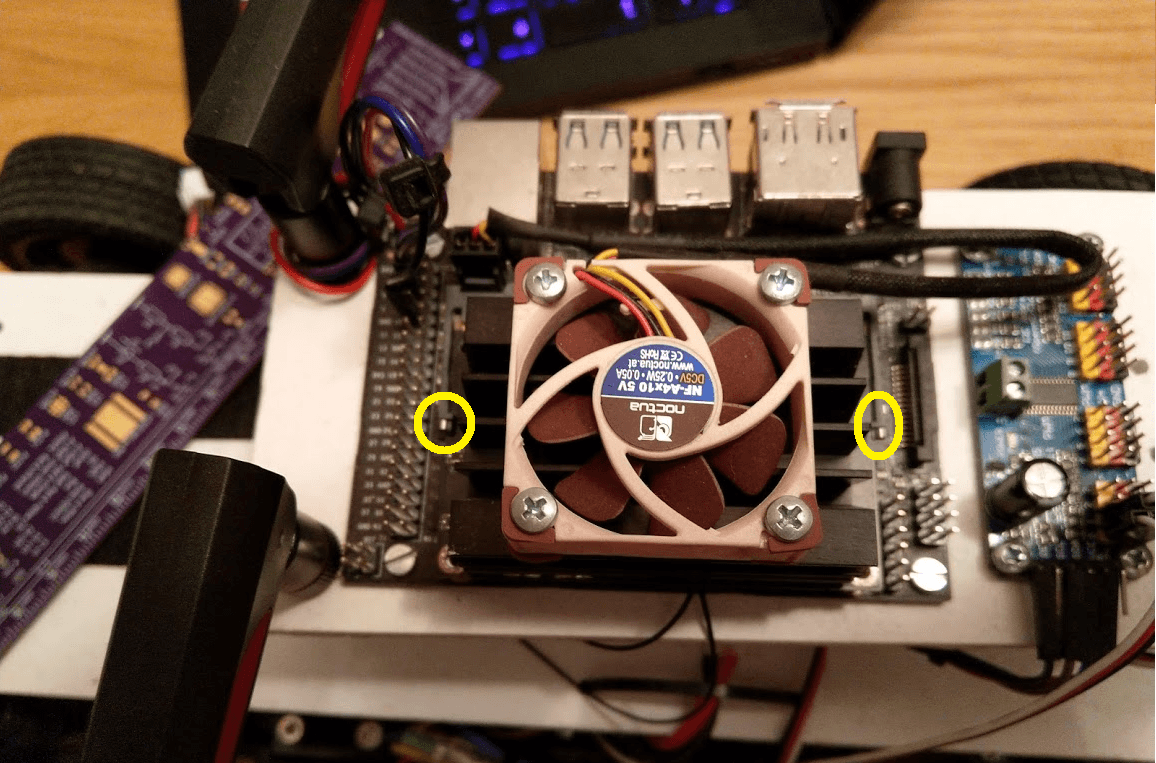
First, we have to take out the Nano module from the breakout board we got it with. We begin by unscrewing these two Phillips screws, highlighted in yellow:

After unscrewing them, pull these two levers outwards (highlighted in yellow) and your Nano module will pop out:
The Nano should pop out like this:
And after pulling it out, you can plug in your microSD on the bottom side:
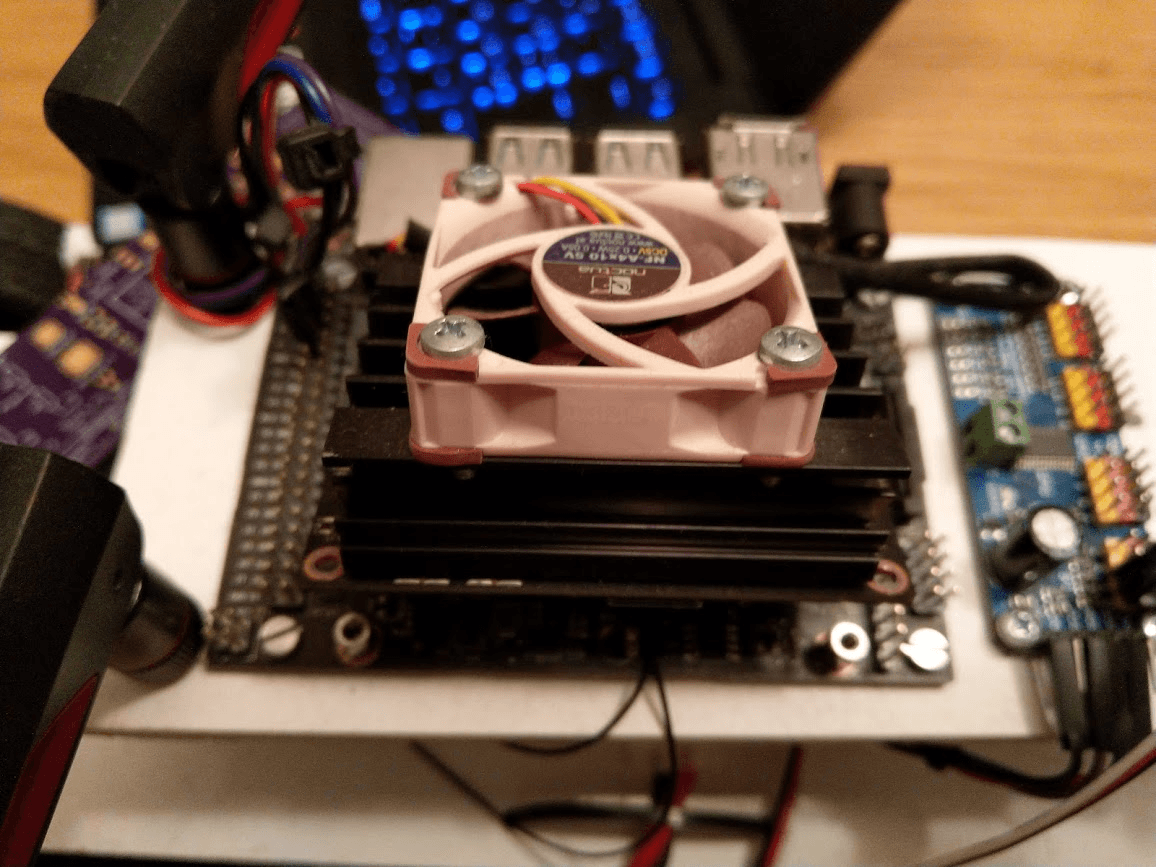
Connecting the Noctua fan to the Nano
On the other side of the module, you can find the heatsink with four screw holes into which, if you haven't done so already, you can screw in the fan you bought for your Nano:

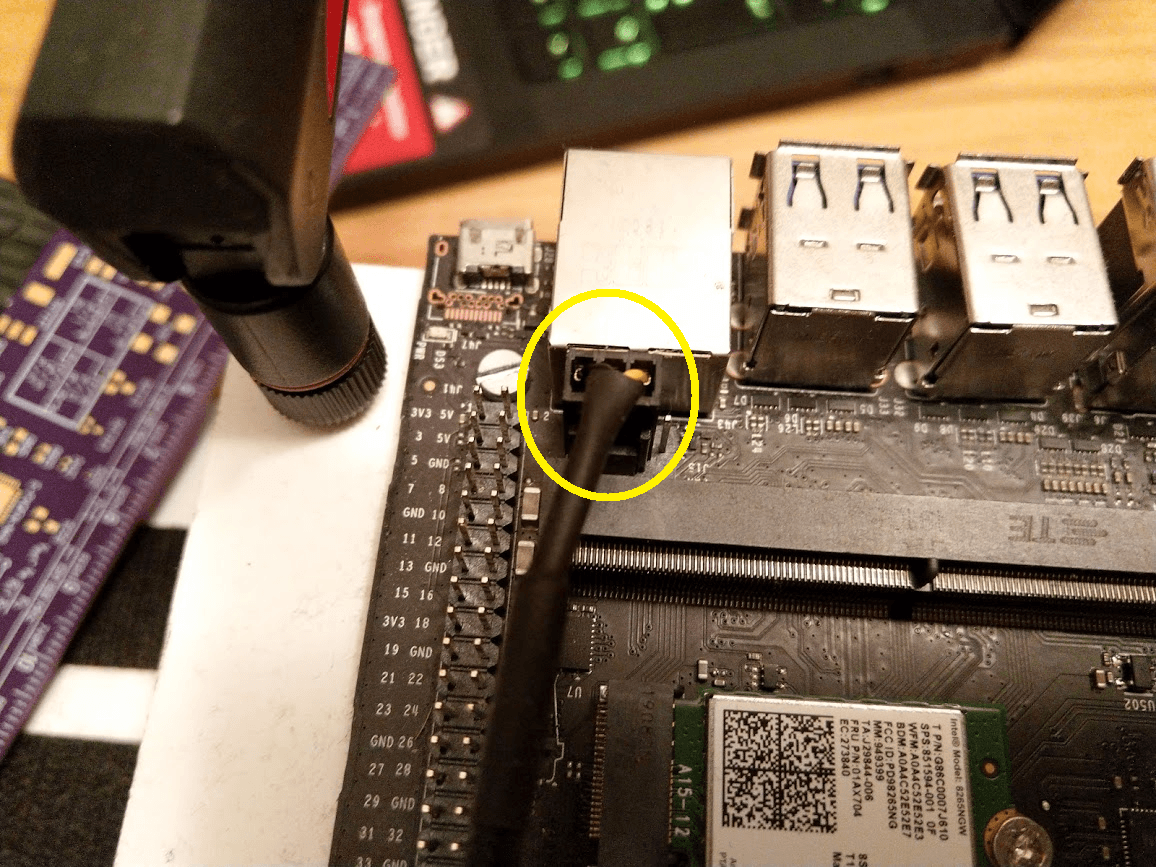
You also need to plug in the 3-pin (or 4-pin) fan connector to the Jetson board right below the ethernet port:
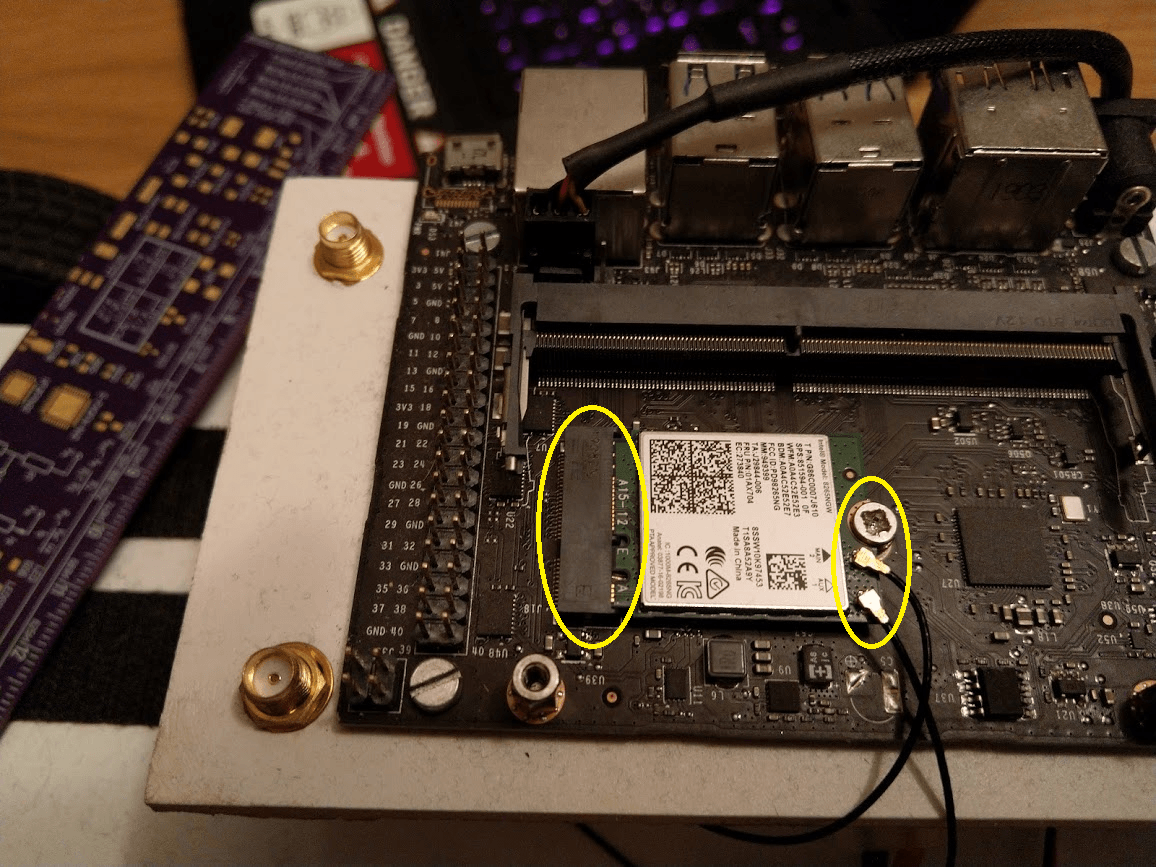
Plugging in the WLAN+BT card
The only thing left is the wireless card, which is plugged into the slot at the middle of the breakout board. You just need to unscrew one Phillips screw, insert the card, put the screw back in and connect your antennae connectors to the WLAN card. The antennae are the same, so don't worry where to plug which one, it doesn't matter.
And that's it for the Nano board!
After putting it all back together, and connecting the antennae, it looks something like this: