Where will we be hosting the site?
I'd recommend using GitHub Pages or Netlify. The main difference is:
- GitHub Pages just hosts your website, without any additional features, but you can host unlimited project sites. And yes, you can use a custom domain for each one. It's also dead simple to use. You can use either Hugo or Jekyll or whatever you'd like.
- Netlify provides only one free website, for one team member, with 100 GB of bandwidth per month. Unless you're creating an open-source project or documentation, in which case you can get the Pro plan for free, which is pretty sweet. Netlify also has a ton of useful features that just work out of the box, the most useful being continuous deployment, which automatically gets any new markdown page files from your GitHub repository, compiles them to HTML using Hugo and serves them to your visitors immediately.
If you're creating an open-source project or docs, go with Netlify, they're absolutely fantastic, and their team is a bunch of good people (e.g. Sarah and Cassidy, who you should follow on Twitter if you wanna see and learn cool stuff :)).
If you don't care about continuous deployment (imho, you should) and some of the work being automatized for you (imho, you should), but you do care about being able to host a dozen of sites, go with GitHub Pages. One great thing about both, they'll automatically deploy an SSL/TLS certificate for you, for free! (Thanks Let's Encrypt ♥)
Okay, we can get started!
Hosting the website
Okay, now we can host our demo website on Netlify or GitHub Pages!
You'll need a GitHub, GitLab or Bitbucket account to host your site on Netlify, or a GitHub account if you're hosting on GitHub Pages.
I'll assume you have a GitHub account so I can show both Netlify and GitHub Pages.
Creating a new repository
First, you'll need to create a repository for your website.
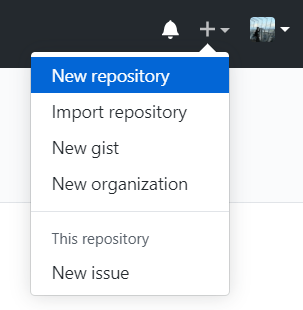
On GitHub, click on the plus icon in the upper right corner and select New repository:
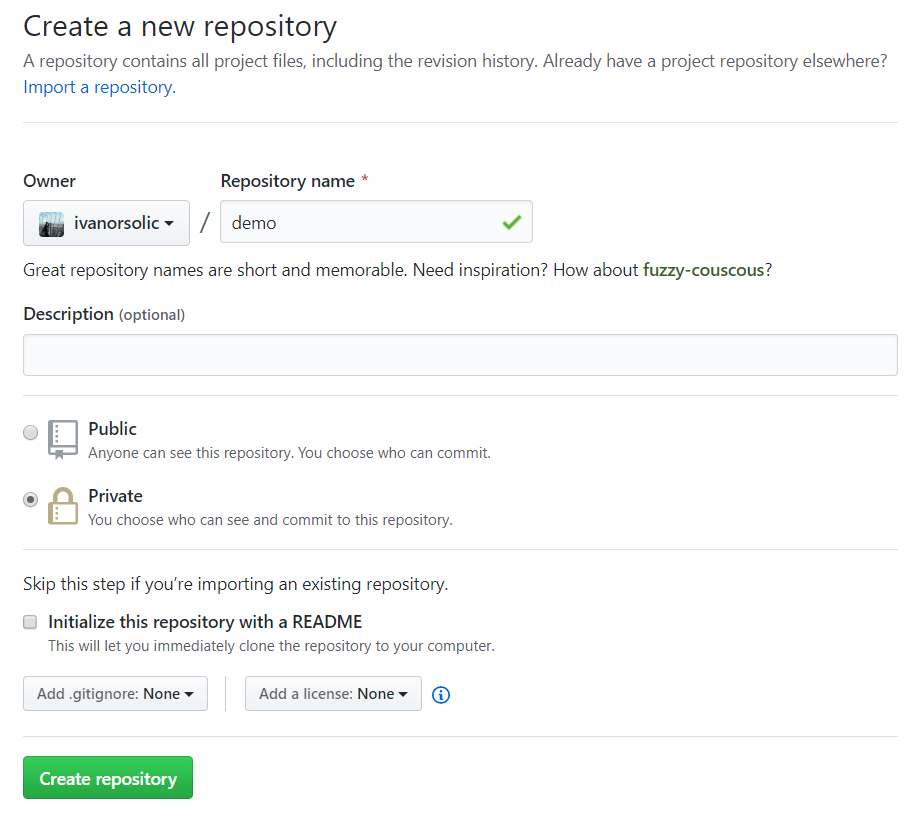
I'll name my repository demo and set it to be private and click Create repository.
Cool, we now have a place to upload/publish our website.
Publishing the site to a GitHub repository
Open up a terminal/shell in your website folder and enter the following:
git init # Initialises a git repository in the current directory
git add . # Adds all of the files in the directory to the repository
git commit -m "First commit!" # Records the changes made in the directory to the repo
Now go to your repository on GitHub and copy the quick setup URL:
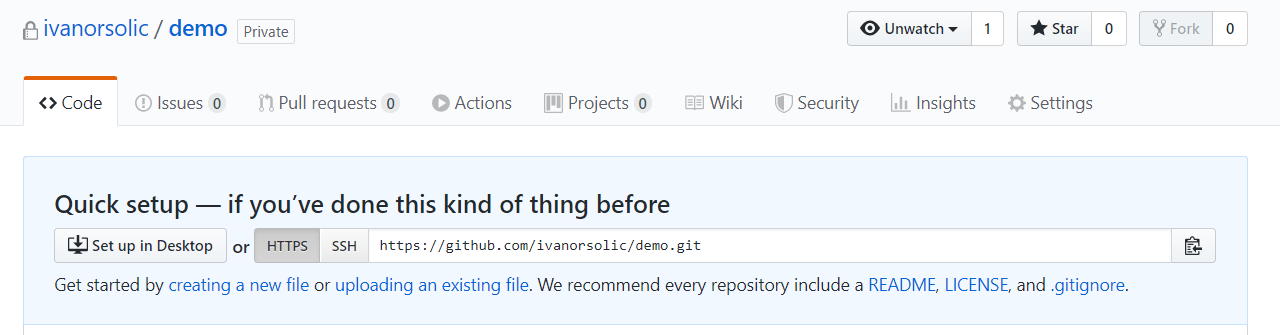
And go back to the terminal/shell and enter:
git remote add origin https://github.com/yourUsername/yourRepo.git
git push -u origin master
And your website should now be visible in your GitHub repository!
Hosting the site using GitHub Pages
To host your site using GitHub pages, the static website files have to be either:
- In a separate branch called
gh-pages - In a folder called docs (in the master branch)
- In the root of the master branch
I think the easiest way is just to publish the public folder containing the static files to a new gh-pages branch, which you can do by opening up a terminal in your website folder and running:
git subtree push --prefix public origin gh-pages
And that's it really. Your website is now published at https://yourUsername.github.io/yourRepoName.
If you're doing it this way, you'll need to push to both master and gh-pages each time you want to publish your site. That way you'll keep the original source content files and publish the finished site.
One last thing to do though. Remember we said we'd need to update our baseURL setting in config.toml when we actually publish the site somewhere so Hugo knows how to create links? Let's do that now.
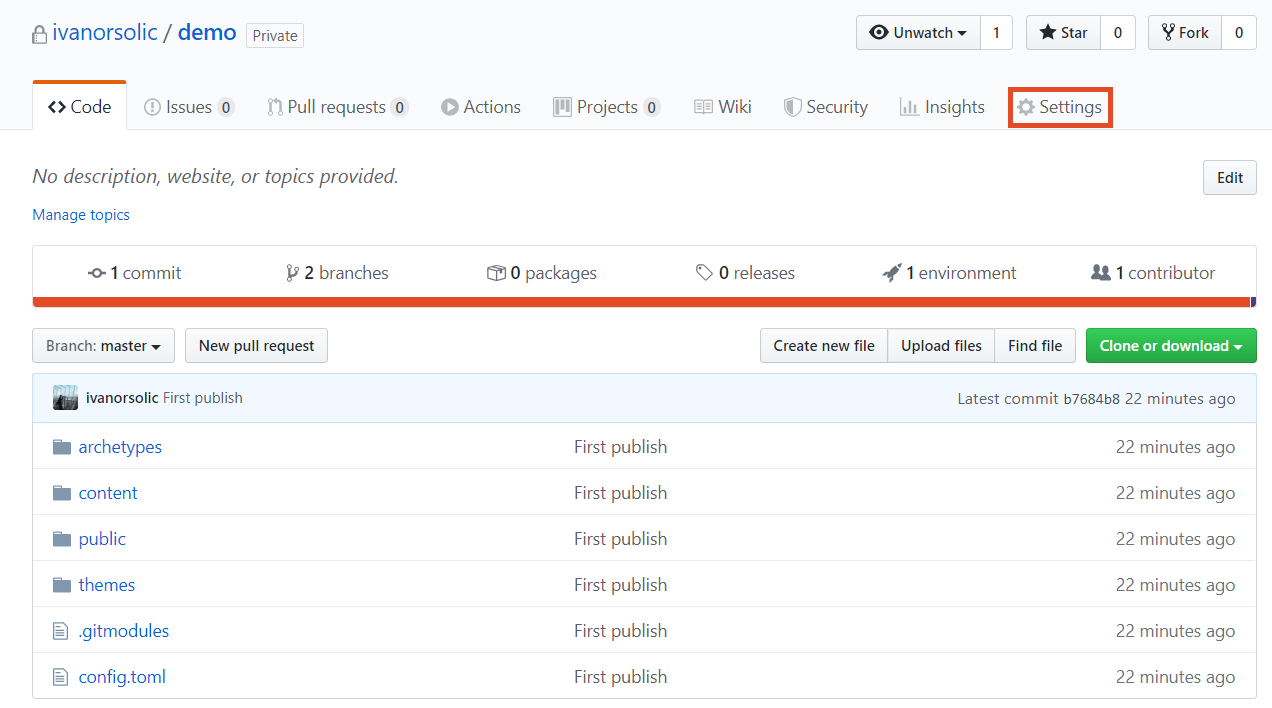
First, open up your repository on GitHub and open the Settings tab in the upper right:
Scroll down to GitHub pages and copy your website URL:
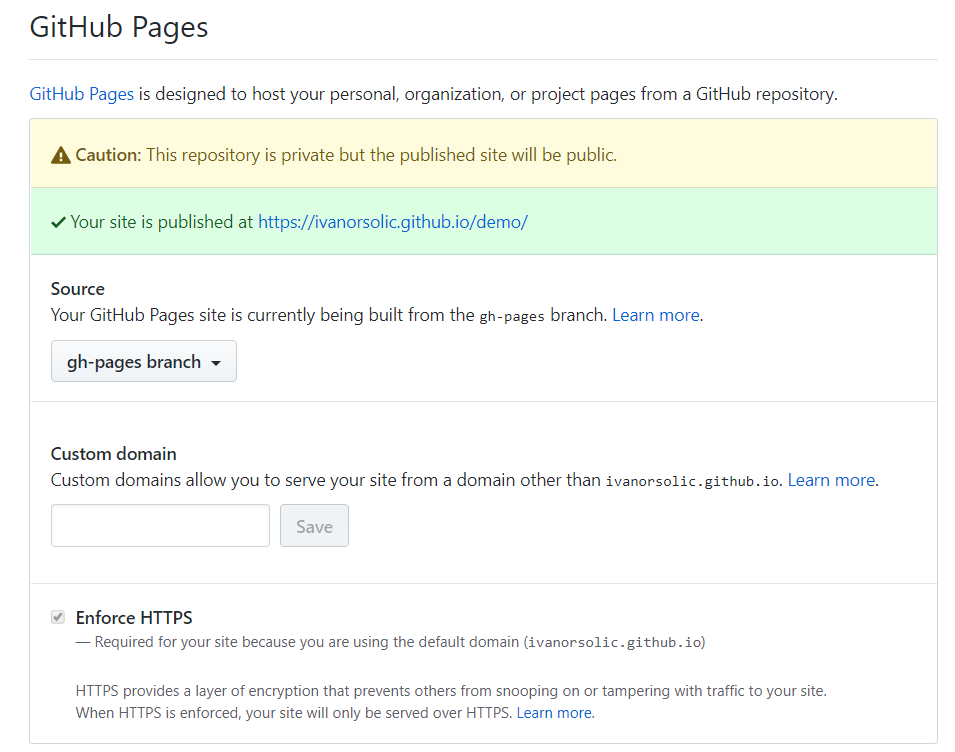
Update the baseURL in the config.toml of your website:
baseURL = "https://ivanorsolic.github.io/demo/"
Compile the site and push the changes to your repository. This is what you'll be doing any time you've added new content or updated something on your website:
# Terminal at the website root
hugo
git add .
git commit -m "Updated config.toml: baseURL"
git push
git subtree push --prefix public origin gh-pages
Now you can visit your website online at the URL you copied from your repo settings:
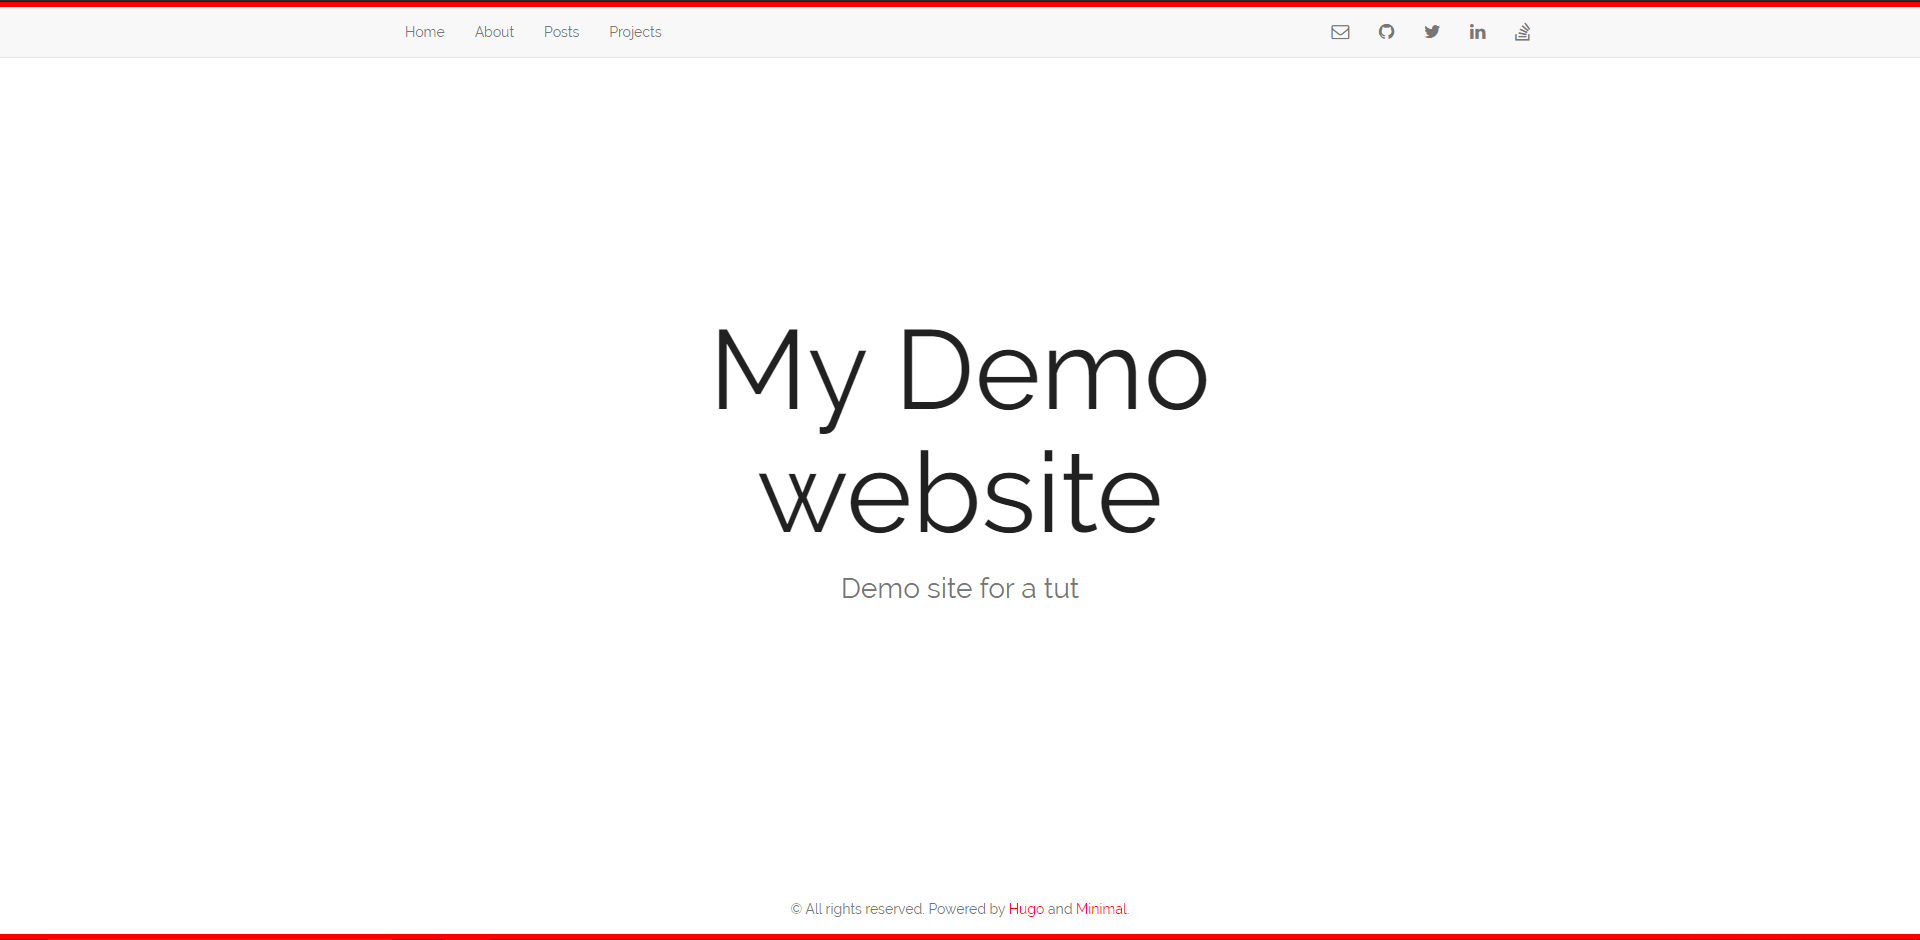
Pretty sweet, huh? You can even bundle the commands from above into a script and just run it anytime you want to publish your website.
Hosting the site using Netlify
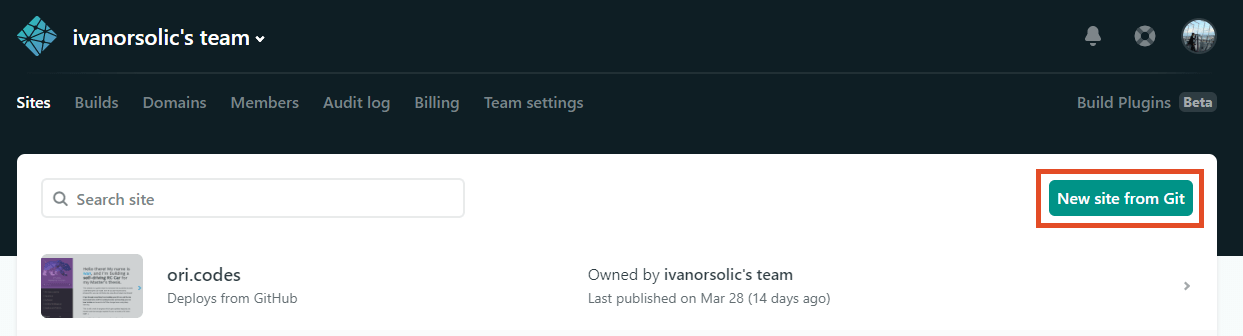
First, sign up for Netlify using your GitHub account and authorize Netlify to access your GitHub account when the prompt comes up.
Next, click the New site from Git button in the upper right:
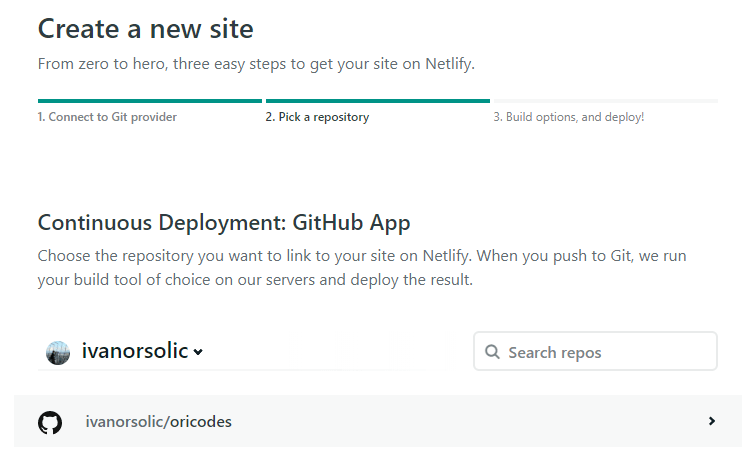
Connect whatever Git provider you're using, I'll assume its GitHub:
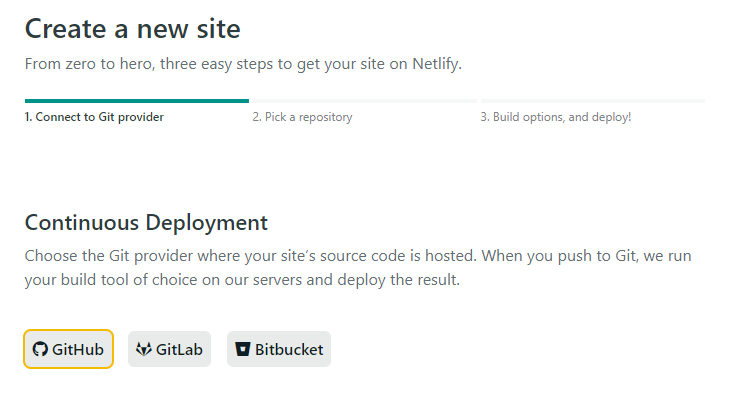
Choose the repo containing your website:
If you're using Hugo, enter hugo as the build command and public as the publish directory, and click deploy site:
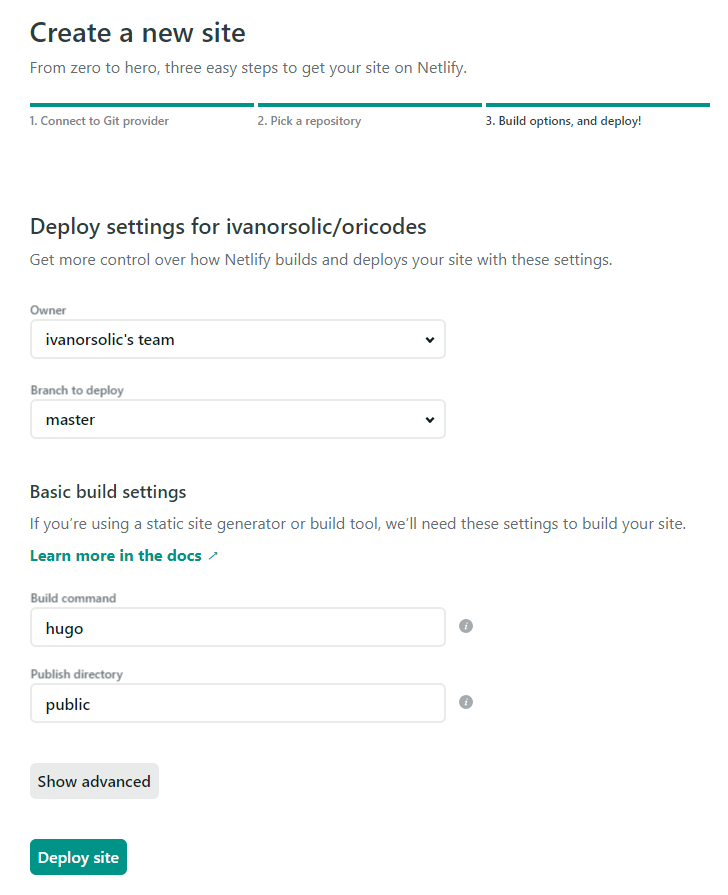
And that's it! Your website should be published on the URL Netlify has shown you after you've clicked on the Deploy site button.