Creating a website with Hugo
Go to the folder where your Hugo binary is and run:
hugo new site quickstart
Add the theme you'd like to your site's themes directory:
cd quickstart
git init
# Replace the URL below with your theme
git submodule add https://github.com/calintat/minimal.git themes/minimal
If you're wondering how to find the URL for your theme:
- Assuming you're on themes.gohugo.io and on your theme's page, just copy the link from the download button and you're good!
- Alternatively, if the theme comes only in a .zip file, just extract the zip into the
themesdirectory.
Customizing the theme and adding content
The main configuration file for each Hugo website is called config.toml found in the root directory of the website. There, you can edit and config a bunch of stuff.
Every theme also comes with its own specific settings, so what I like to do right after I install a theme is to go into the theme folder and copy the contents of the exampleSite folder to the root of my website. This way we get some demo content that comes with the theme and we also copy the config.toml of the theme to our website, so we can see how the author configured their own demo site.
In my specific case, I need to go to quickstart/themes/minimal/exampleSite and copy all of the folder contents to quickstart.
config.toml
Opening up the config.toml file we just copied to the quickstart directory, we can see a bunch of settings. Let's go through them:
baseURL = "http://example.com/" # Your website URL will go here
languageCode = "en-us" # The language of the site
title = "Minimal" # The title of the site
theme = "minimal" # The theme we're using
disqusShortname = "username" # Delete this, they show ads on your site.
googleAnalytics = "" # Delete this too. :)
The baseURL is used by Hugo to generate links inside your website, so make sure to keep it up to date when you publish your website. The rest is pretty self-explanatory.
Next up, params. The values from this part of the config file can be used through the .Site.Params variable in templates (e.g. {{ $.Site.Params.description }} in HTML).
Don't worry if you don't understand it, it's used when you want to create your own templates or toy around with more advanced stuff. The theme uses it throughout the website to enable some functionalities, such as fonts, syntax highlighters, background colors, etc.
[params]
    author = "Your Name"
    description = "What's your site about"
    githubUsername = "yourUsername"
    accent = "red" # Accent color for the theme
    showBorder = true # Theme setting for the border
    backgroundColor = "white" # Background color for the theme
    font = "Raleway" # Theme font - can use any Google Font name
    highlight = true # Should the theme highlight syntax
    highlightStyle = "default" # In what style?
    highlightLanguages = ["go", "haskell", "kotlin", "scala", "swift"] # What languages?
And the rest of the config file lists some menu items and icons, shouldn't be a problem to figure out.
The content
After updating the config.toml file with your info and any changes you'd like, you can navigate to the content folder of your website. In this case quickstart/content. This is where all of your actual source content is, which Hugo then takes and compiles to a static website.
Every content file begins with a header which tells Hugo what type of content it is and how to compile it. This varies from theme to theme, so you'll have to look it up, but the author of every time I've ever used has always provided both explanations and demo content like this, so it should be easy to understand.
This specific theme has three content types:
-
A regular page (e.g. About):
# Note: I had to escape the dashes using # since Hugo was rendering them as markdown on my site # --- title: About description: What is Hugo? # --- -
A project page:
# --- title: "Project 1" description: "Lorem ipsum dolor sit amet" repo: "#" # delete this line if you want a blog-like page tags: ["go", "golang", "hugo"] weight: 1 draft: false # --- -
And a blog post type:
# ---
title: "Creating a New Theme"
date: 2014-09-28
tags: ["go", "golang", "hugo", "themes"]
draft: false
# ---
As you can see, the only difference between the blog post and project page types is the link to the GitHub repo. The regular page type has only a title and description.
If you're using Typora, press ALT + CTRL + S to enter the Source Code Mode so you can see the header.
The content can also be hierarchically structured using folders, but I'll get to that later on, through the second theme (the one you're reading this on).
Compiling and running the website
Since this is just a quick demo website to check everything works, I won't be adding or editing any content.
To compile your content and theme into a static website, just run Hugo inside your website root folder, e.g. on my Windows machine:
PS C:\Users\ori\Desktop\demo\quickstart> hugo.exe
Building sites …
                   | EN
+------------------+----+
  Pages            | 50
  Paginator pages  |  2
  Non-page files   |  0
  Static files     |  1
  Processed images |  0
  Aliases          | 19
  Sitemaps         |  1
  Cleaned          |  0

Total in 178 ms
The static website can now be found inside the public folder, in this case quickstart/public.
But helpfully, Hugo includes a local server so you can preview your website locally before publishing it, you can run it as:
hugo server
Or in my case:
PS C:\Users\ori\Desktop\demo\quickstart> hugo.exe server
Building sites …
                   | EN
+------------------+----+
  Pages            | 50
  Paginator pages  |  2
  Non-page files   |  0
  Static files     |  1
  Processed images |  0
  Aliases          | 19
  Sitemaps         |  1
  Cleaned          |  0

Built in 32 ms
Watching for changes in C:\Users\ori\Desktop\demo\quickstart\{archetypes,content,data,layouts,static,themes}
Watching for config changes in C:\Users\ori\Desktop\demo\quickstart\config.toml
Environment: "development"
Serving pages from memory
Running in Fast Render Mode. For full rebuilds on change: hugo server --disableFastRender
Web Server is available at http://localhost:1313/ (bind address 127.0.0.1)
Press Ctrl+C to stop
The cool thing about this is that it will show any edits to your content in real-time in your browser. :)
You can also pass various flags to it, like -D to enable drafts or --disableFastRender to force full re-renders whenever you update a source content file.
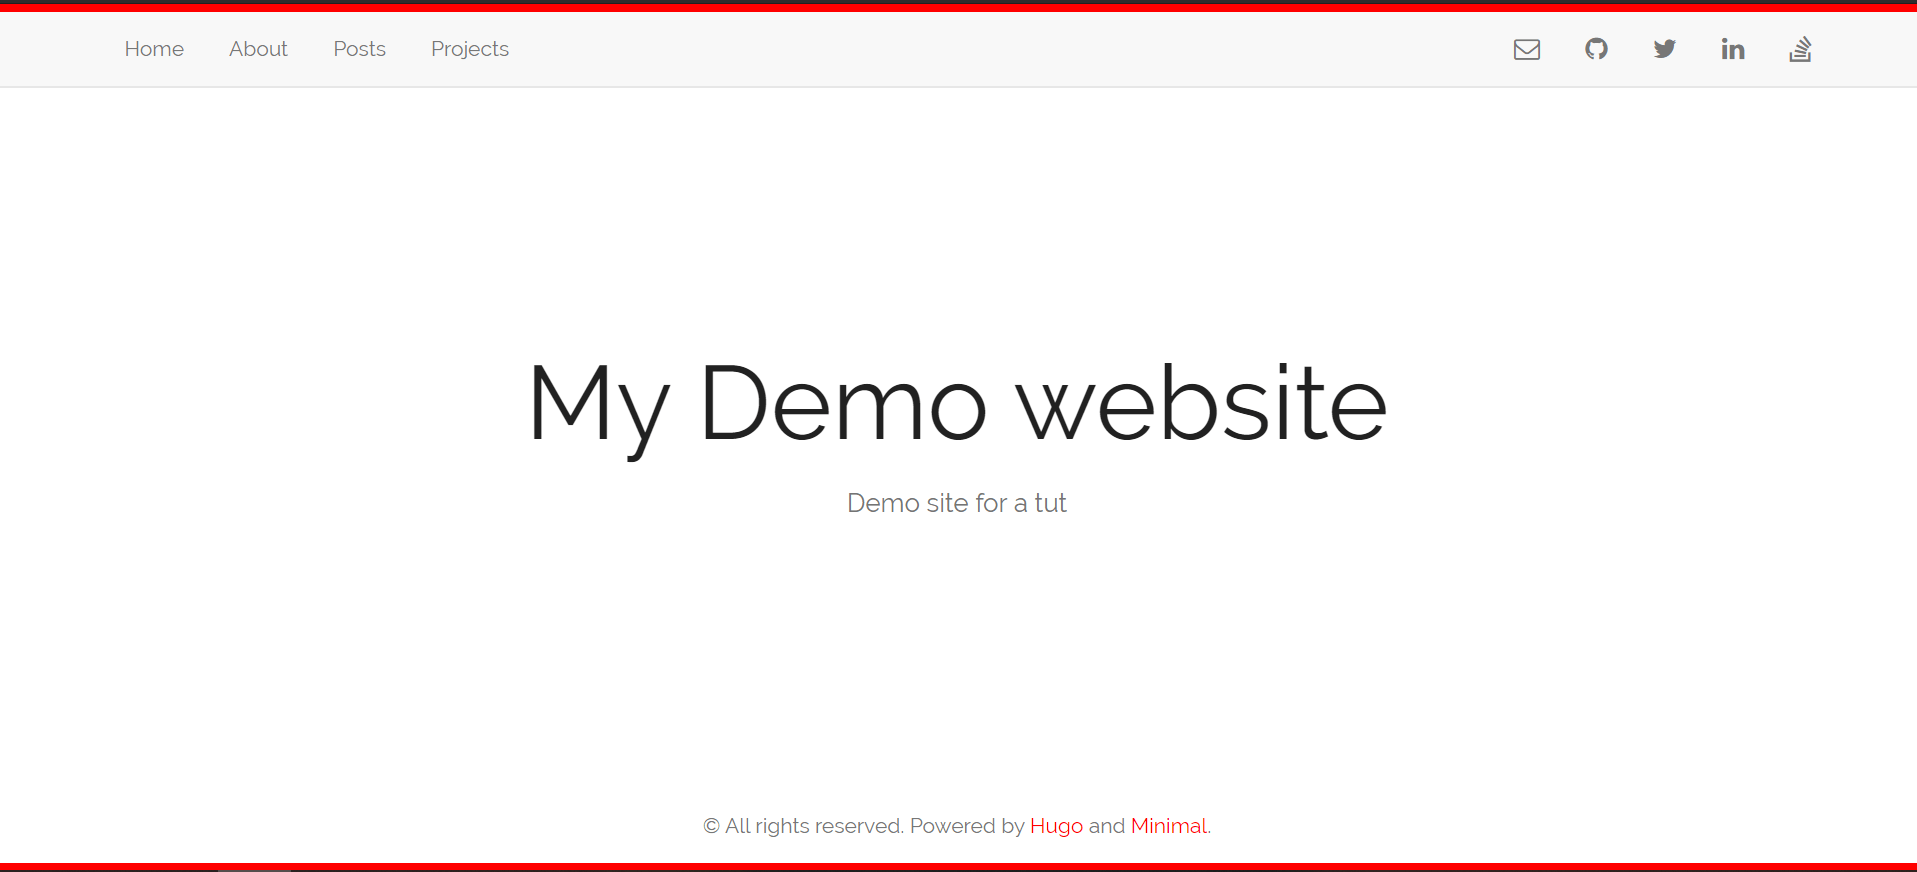
This is what the demo website looks like for me after visiting localhost:1313
And that's actually it! You just add content to your content folder and Hugo does the rest for you.