Camera calibration: Calibrating the camera and undistorting images
Finally, we can actually calibrate our camera and undistort our images!
We'll start with the real camera on our RC and then we'll also calibrate our simulator camera!
Once calibrated on the calibration images, you can use the same undistortion matrix for any other image that the same camera takes (given the focal length hasn't changed)!
Calibrating your real camera
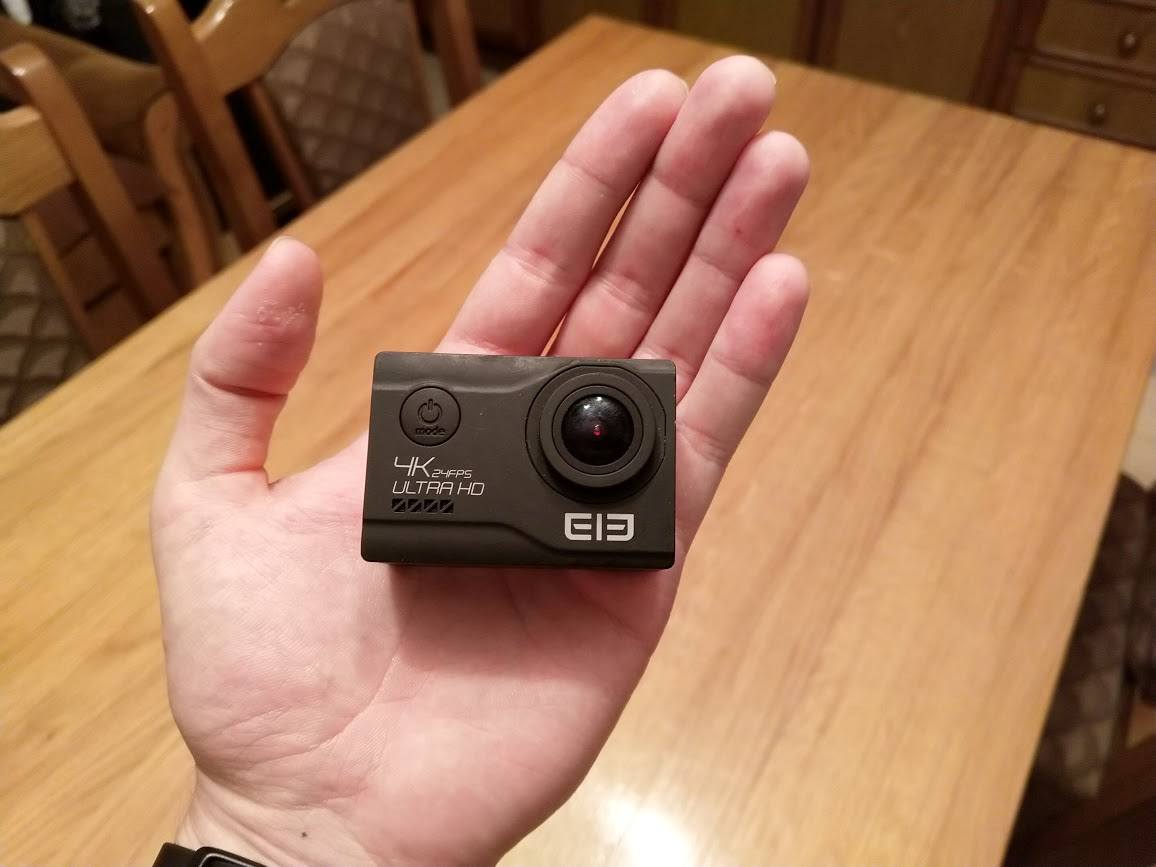
I'll be using my RC camera, the EleCam Explorer 4K, which has an advertised 170 degree FOV.
First, we need to print a checkerboard pattern so we can take some calibration rig photos.
There's a pretty cool checkerboard collection by Mark Hedley Jones which you can use to generate a checkerboard/chessboard pattern you like. I'll be using this one:
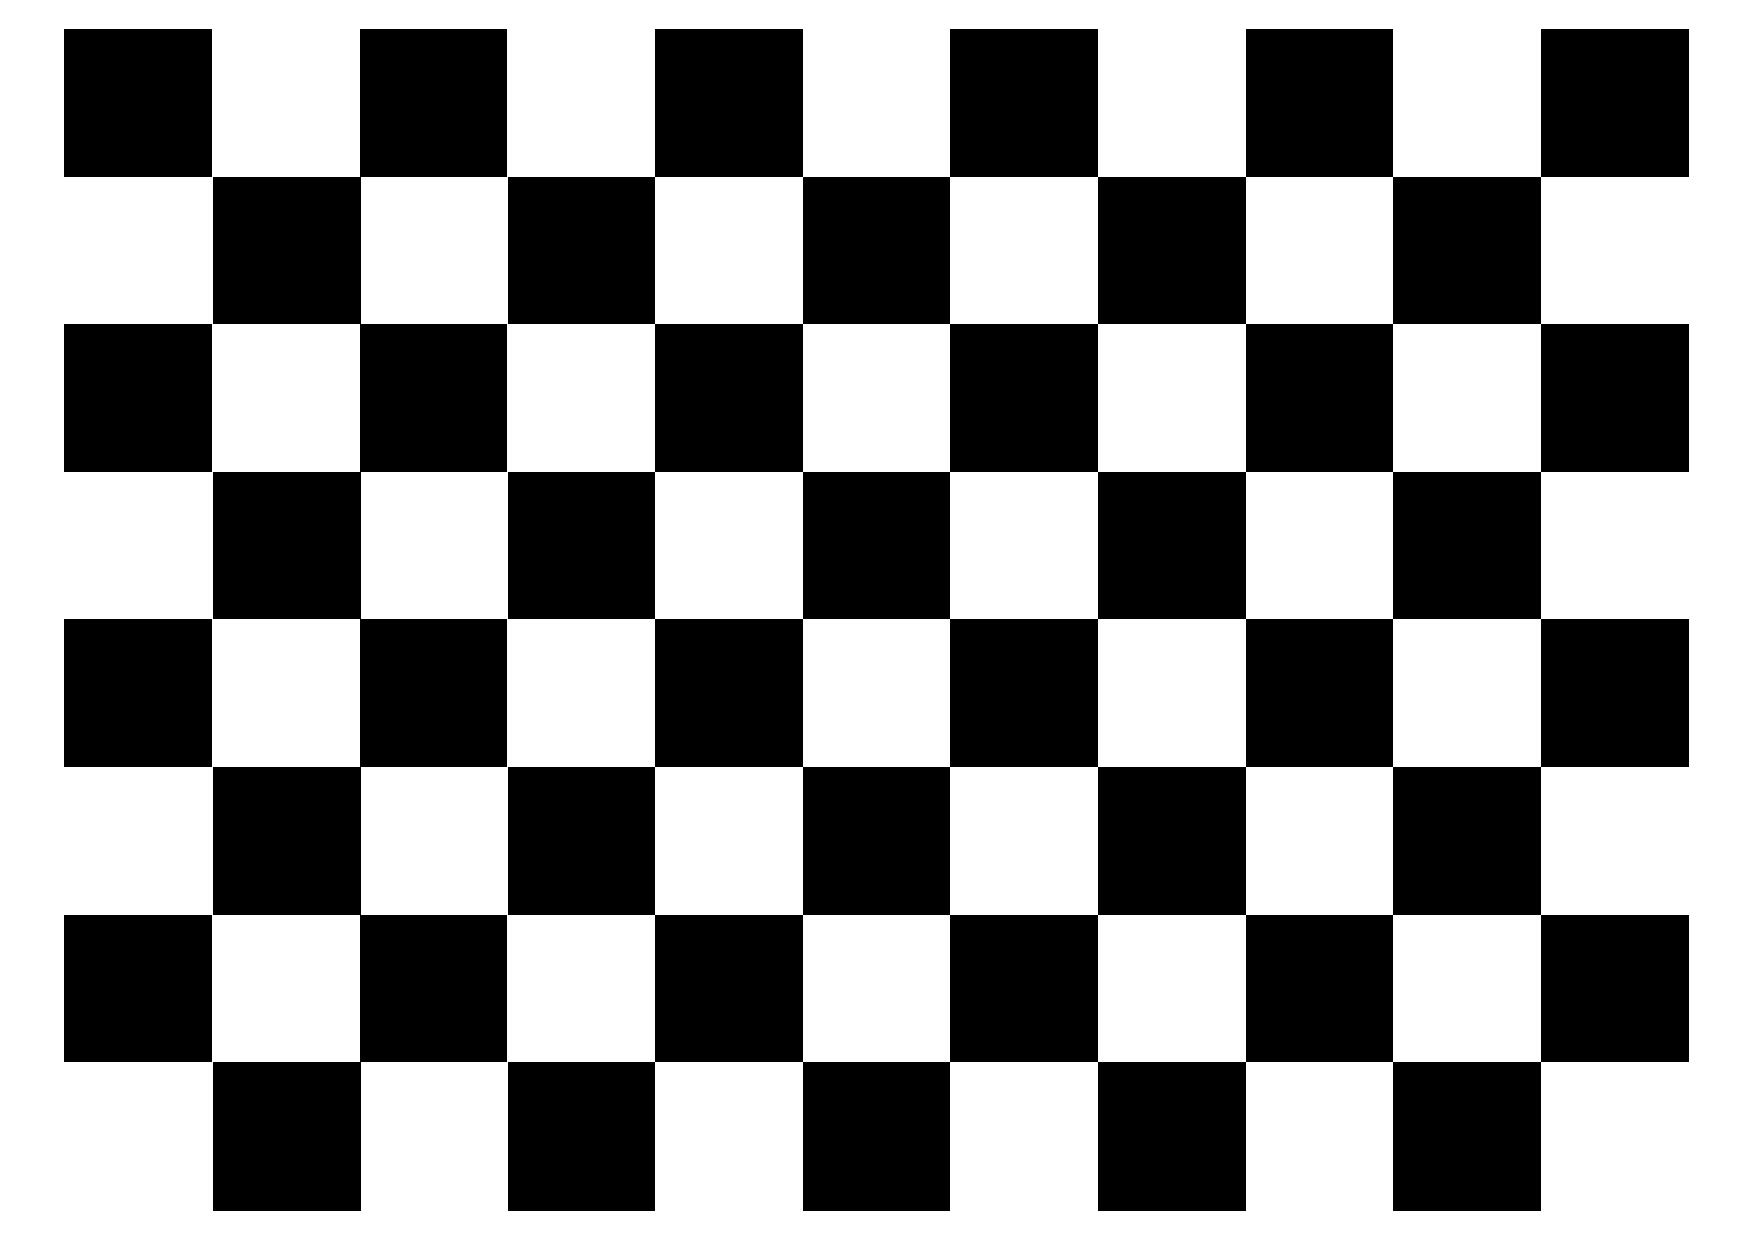
If you use another pattern, make sure to update the number of inner corners for the rows and columns in the getObjectAndImagePoints function we made earlier.
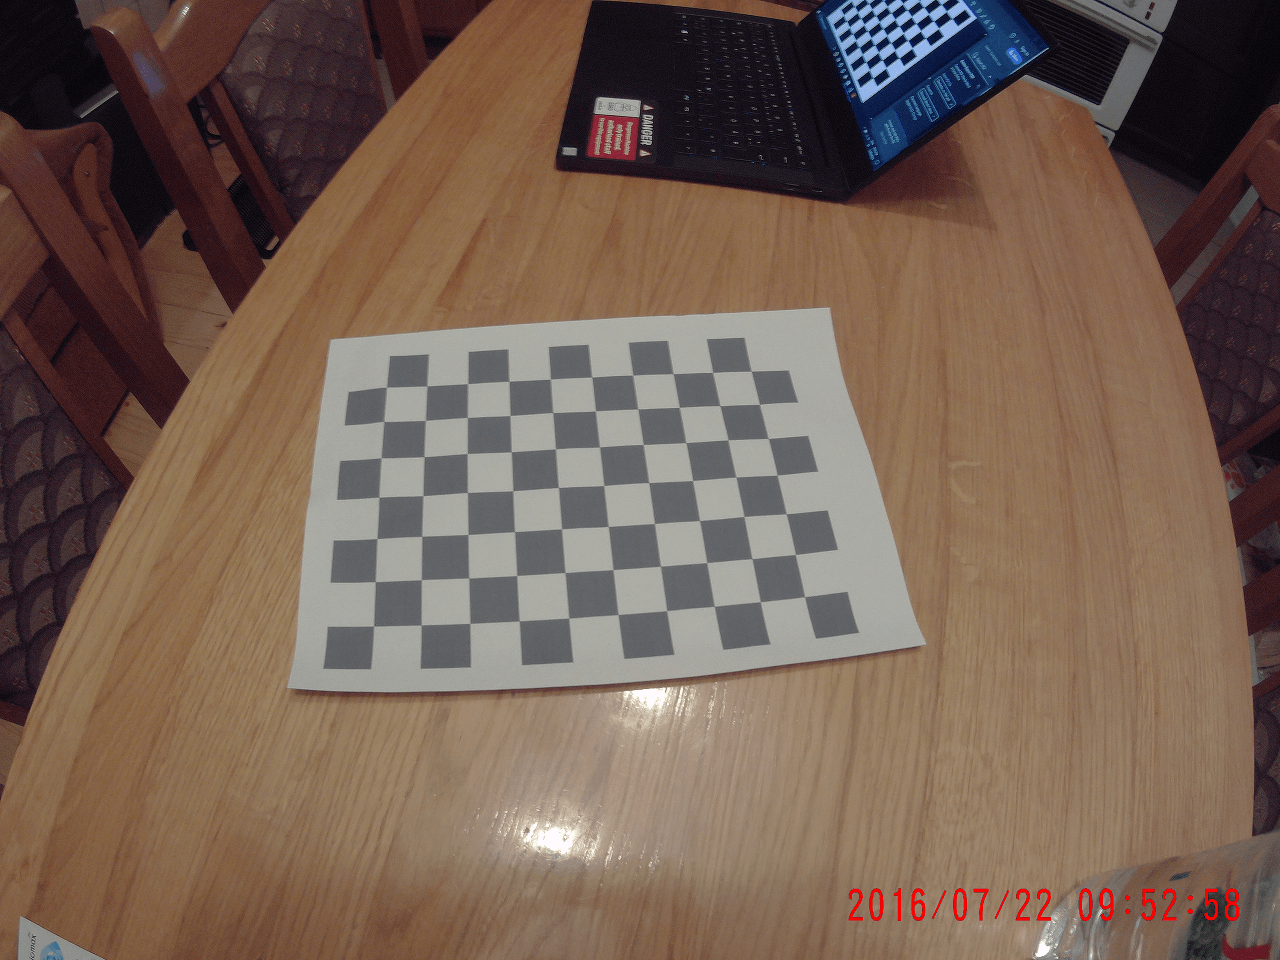
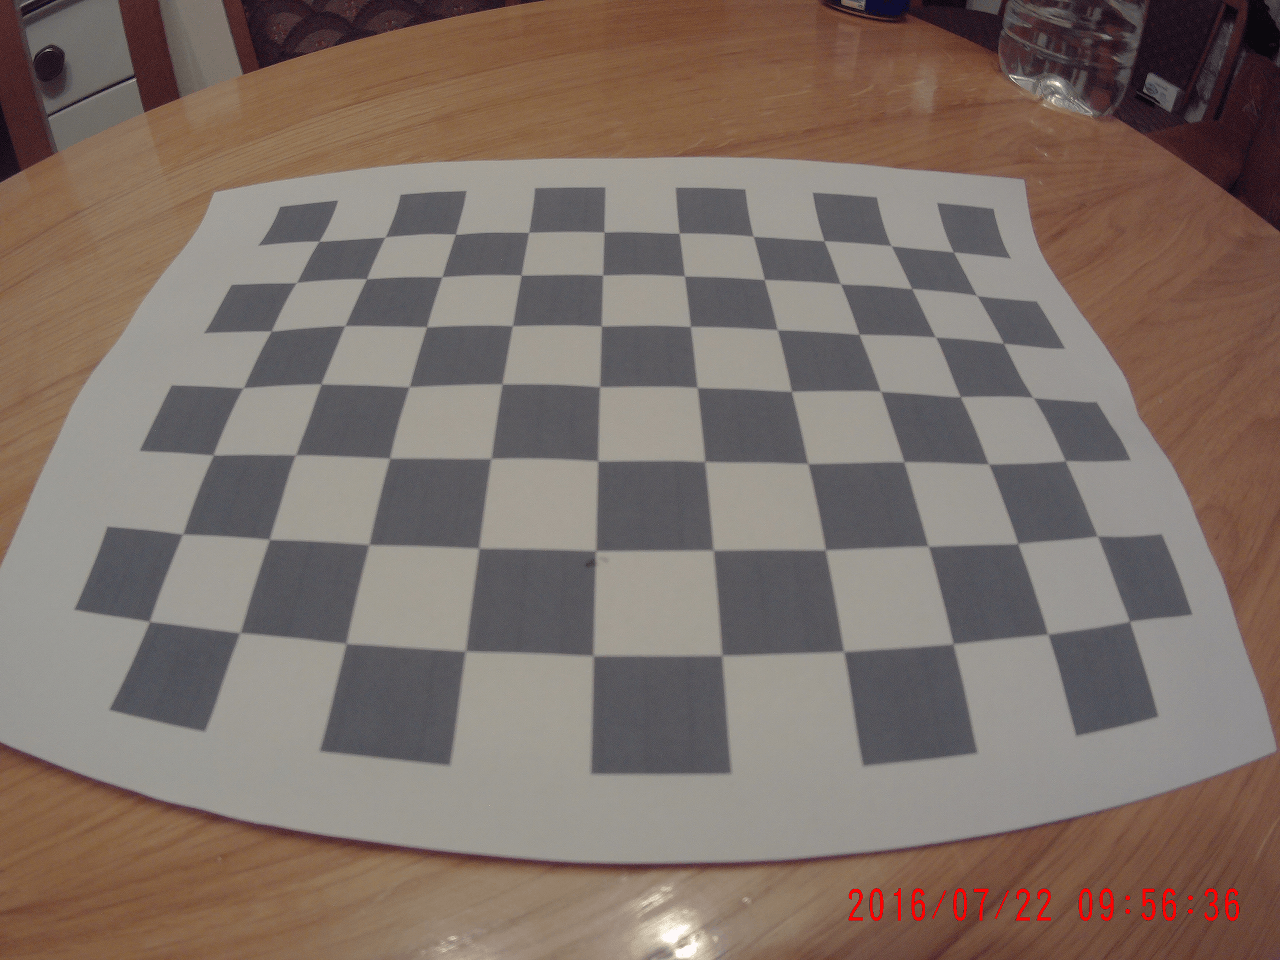
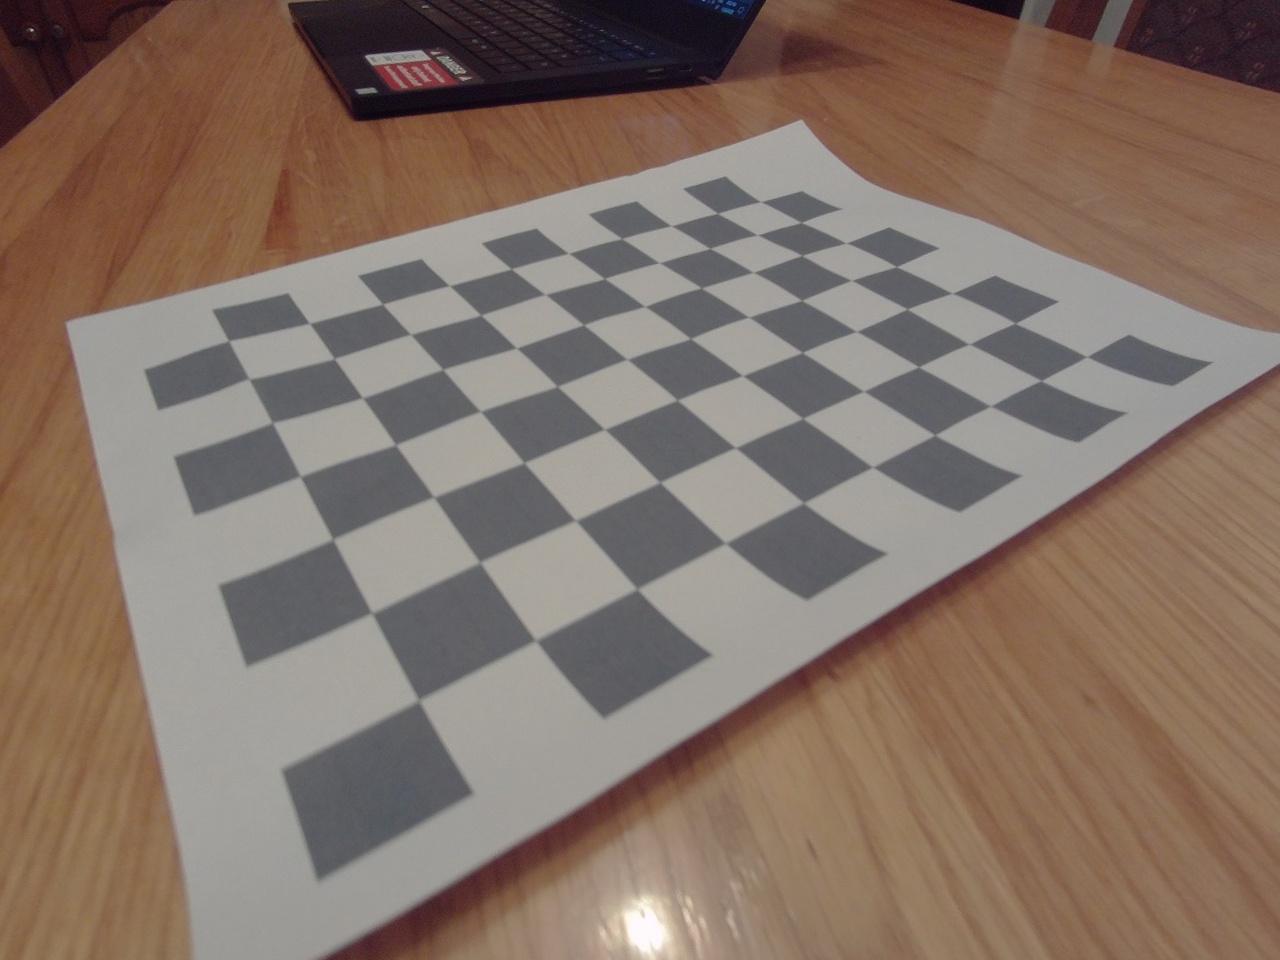
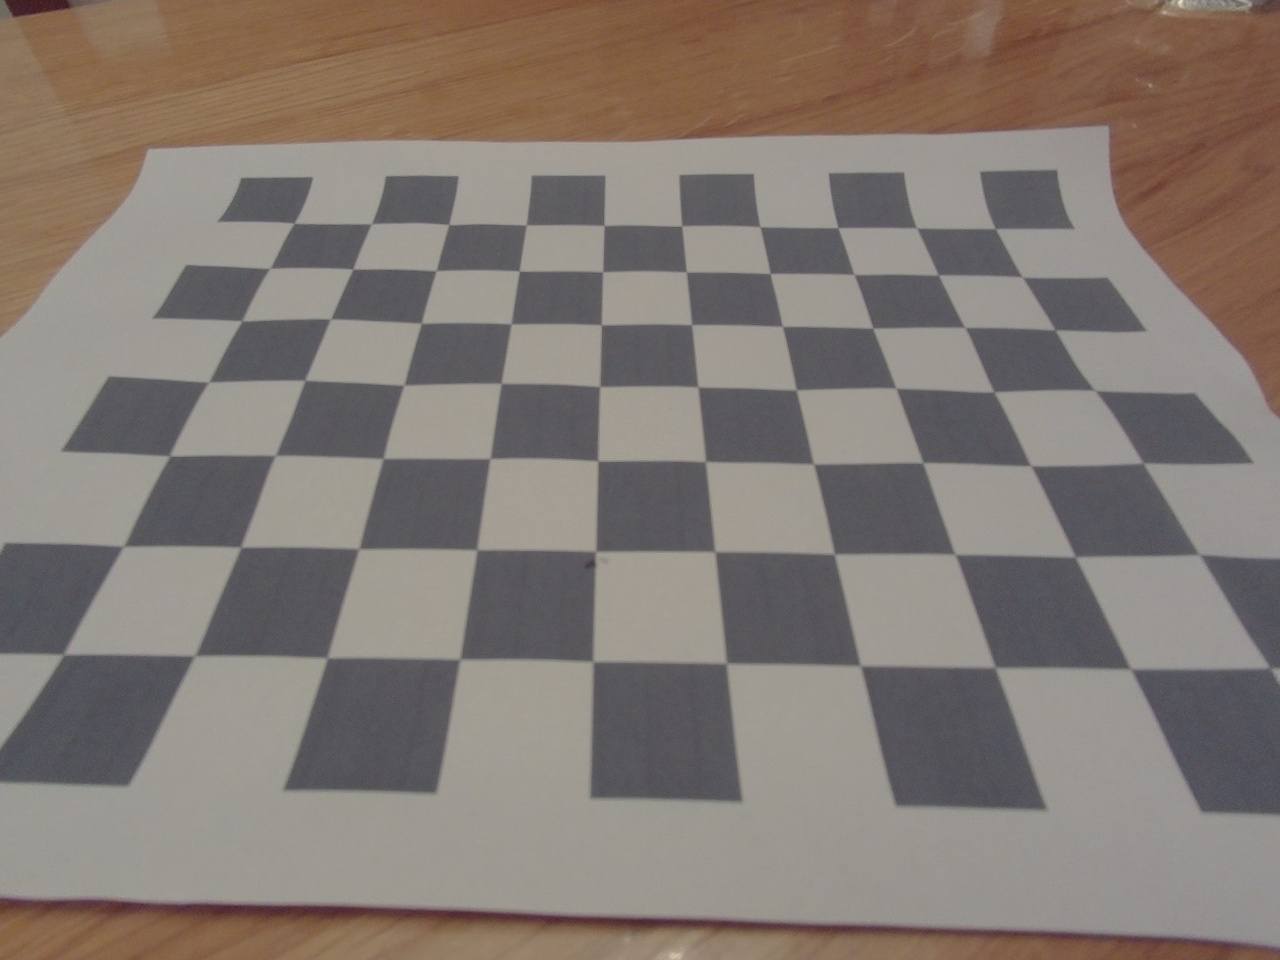
After printing it out on an A4 paper, you should take at least 10 photos of it in different angles, e.g.:
Also, most action cams with a FOV as large as this one (170°) will have some built-in distortion correction, probably named something like fisheye correction or adjust:

I've intentionally left mine off, to show how distorted the images are by default at such a big FOV, and to show that they can be undistorted even for those whose camera doesn't have a built-in option to do so.
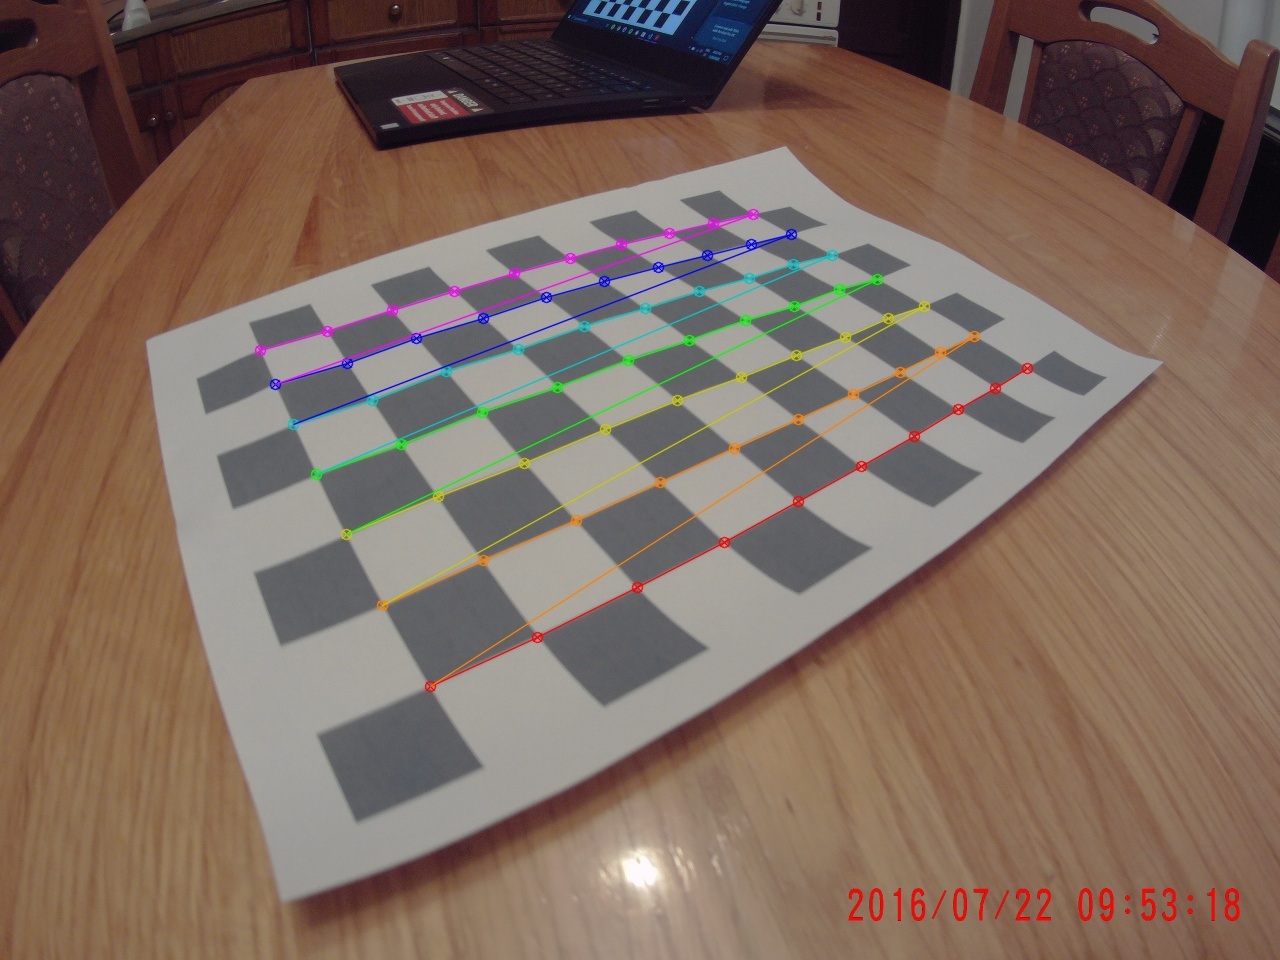
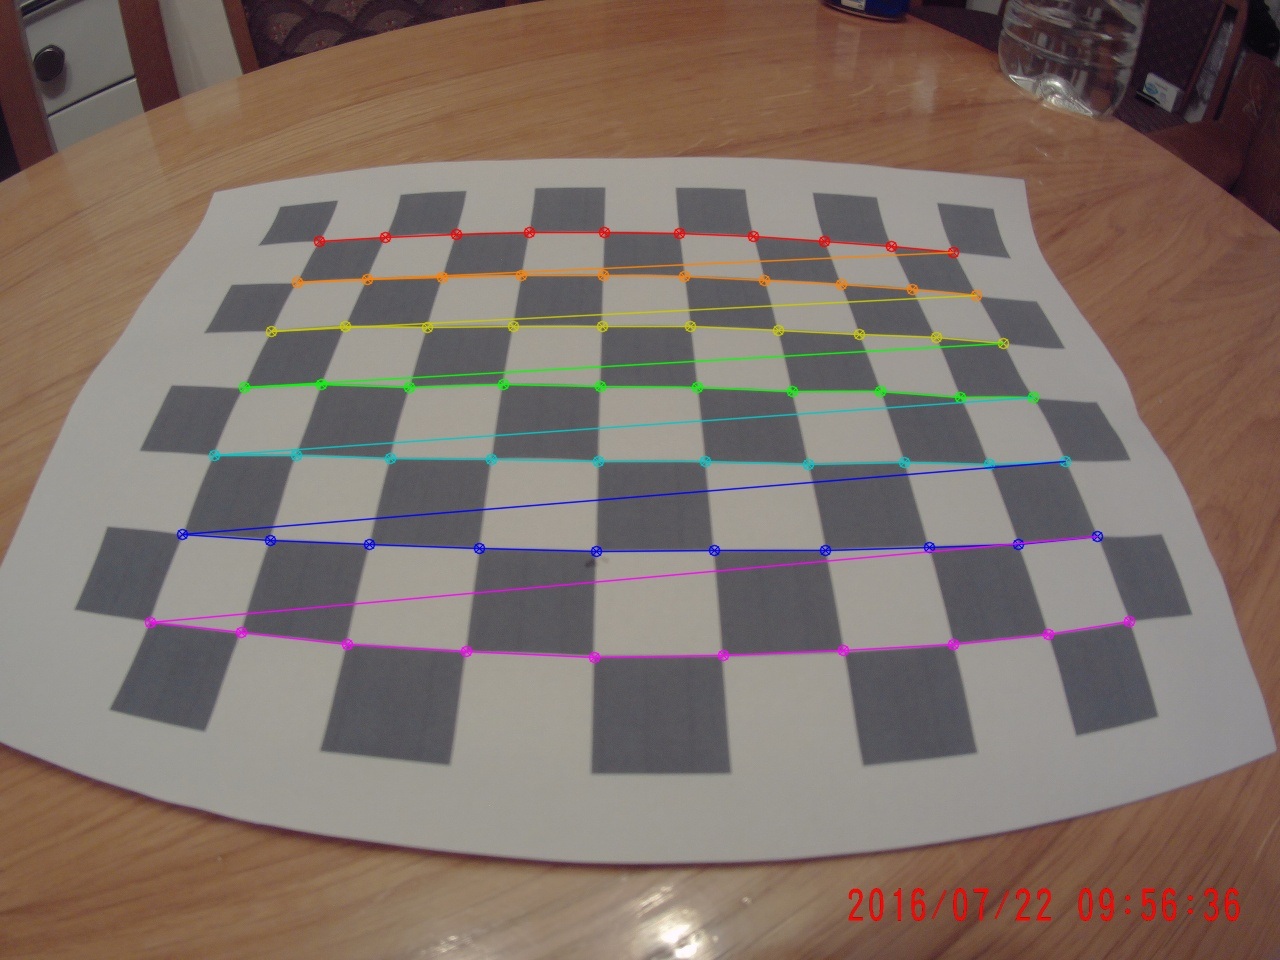
After copying the images to my calibration_images folder and calling the getObjectAndImagePoints script, here's what the detected image points look like:
After getting the image points, we can call the calibrateCamera function once, and then undistortImage to undistort our images for as many new images as we want, here's what the previous two image look like undistorted:
Calibrating the simulator camera
First, we need to put a checkerboard object into the simulator so we can take photos of it with our RC:
- Open up Unity and open the project
- Go to Scenes and open the small_looping_course (or any course you'd like)
- In the Hierarchy panel (upper left) expand the world element and double click the starting_line element
- The camera should've automatically zoomed into the starting position from which your RC begins the drive when you first open up the track in the simulator
- Click on the GameObject menu in the main menu bar:
- Click 3D object > Cube
- Convert your checkerboard PDF to a JPG using a tool online or however you'd like
- Drag and drop your JPG in the Unity Assets/Materials folder
- Drag and drop the JPG from the Unity editor onto the Cube
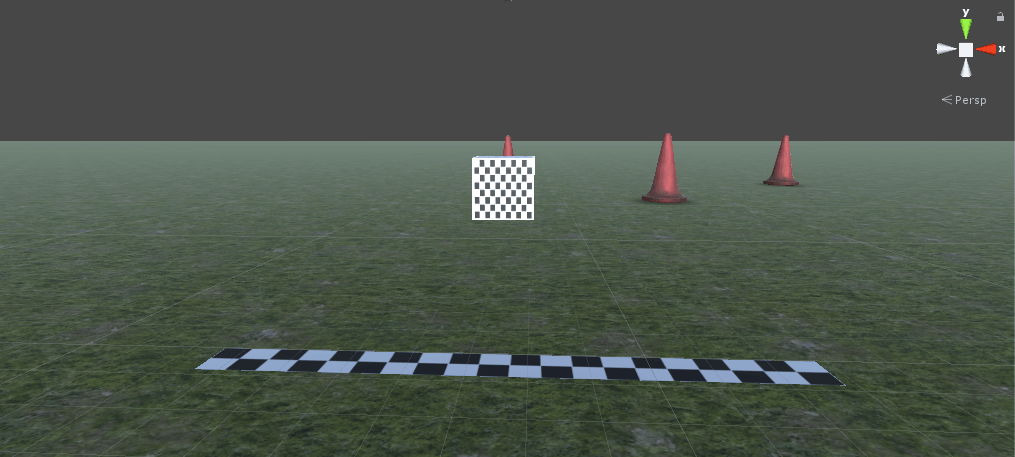
If you want to make the cube proportions fit the original checkerboard size, e.g. an A4 paper, after clicking on the cube, you can edit the scale values in the Inspector panel and set the values to be e.g. 0.297 for X and 0.21 for Y, since an A4 is 29.7 cm x 21.0 cm.
- Run the simulator in full screen at a high resolution (720p/1080p) and open the track in which you've added the checkerboard
- Select Joystick/Keyboard No Rec
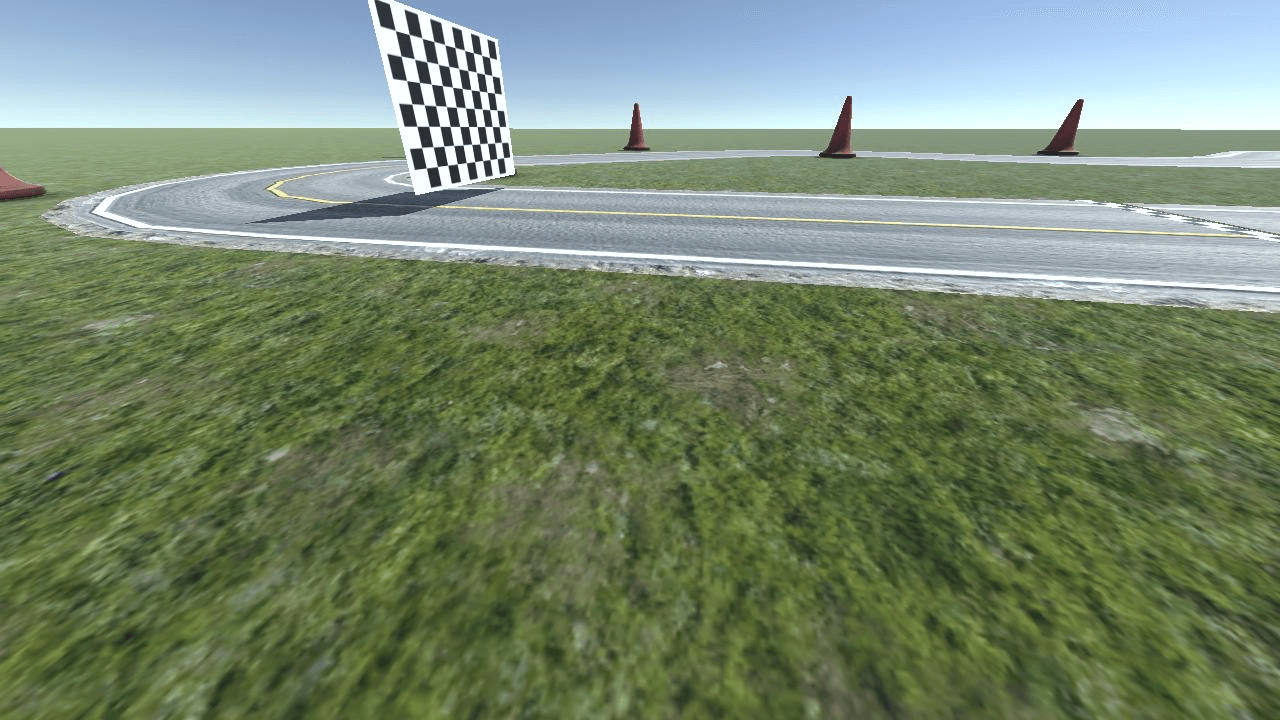
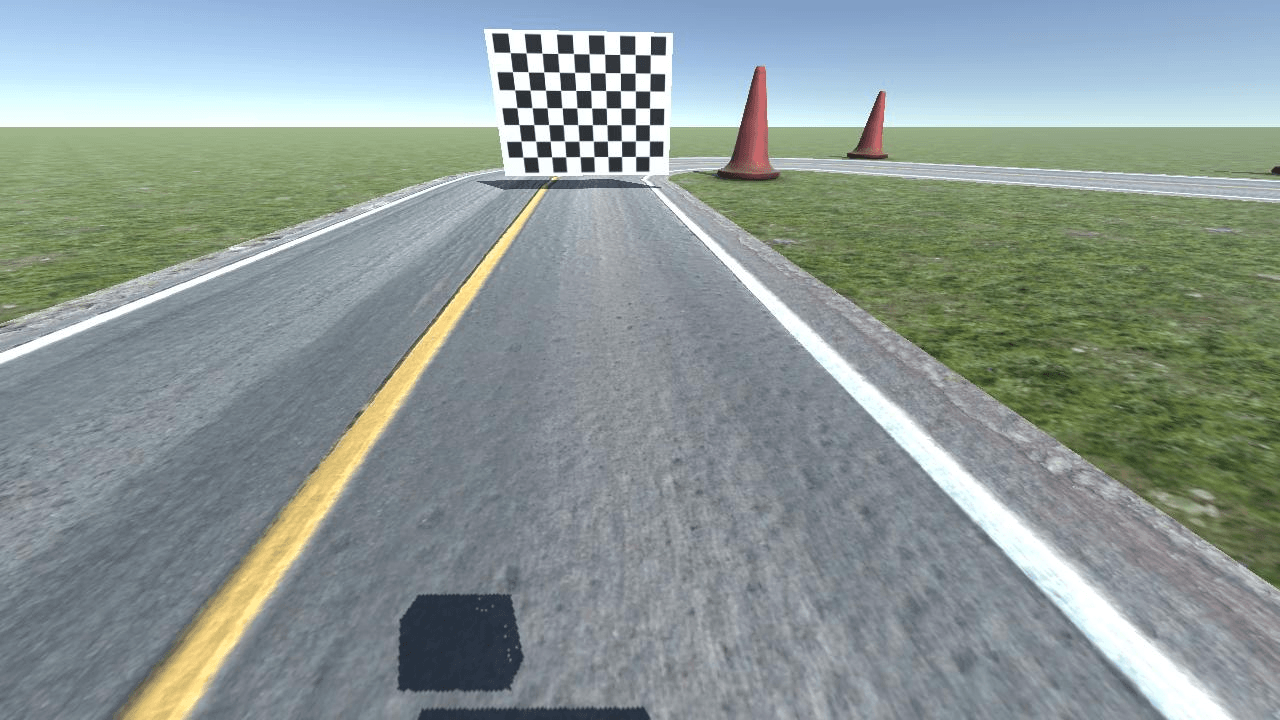
- Drive around the course and take multiple screenshots of your cube, under different angles, just like you'd do with your real camera
- Screenshot hotkeys:
- Windows: Win key + Shift + S
- Mac OS X: Shift + Cmd + 3
- Linux: Print Screen key (somewhere between F12 and Scroll Lock)
After you've got yourself some images, you can run them through the same procedure as you would if you used a real camera. Here's what mine looked like:
How are we going to use it for our neural net?
You can undistort every image like this before you input it to the neural network. Here's what the code could look like:
# At the beginning of run
getObjectAndImagePoints()
calibrateCamera(inputImage.shape[1::-1])

# For every input image to the NN
undistortedImage = undistortImage(inputImage)
# Pass it along to the NN